
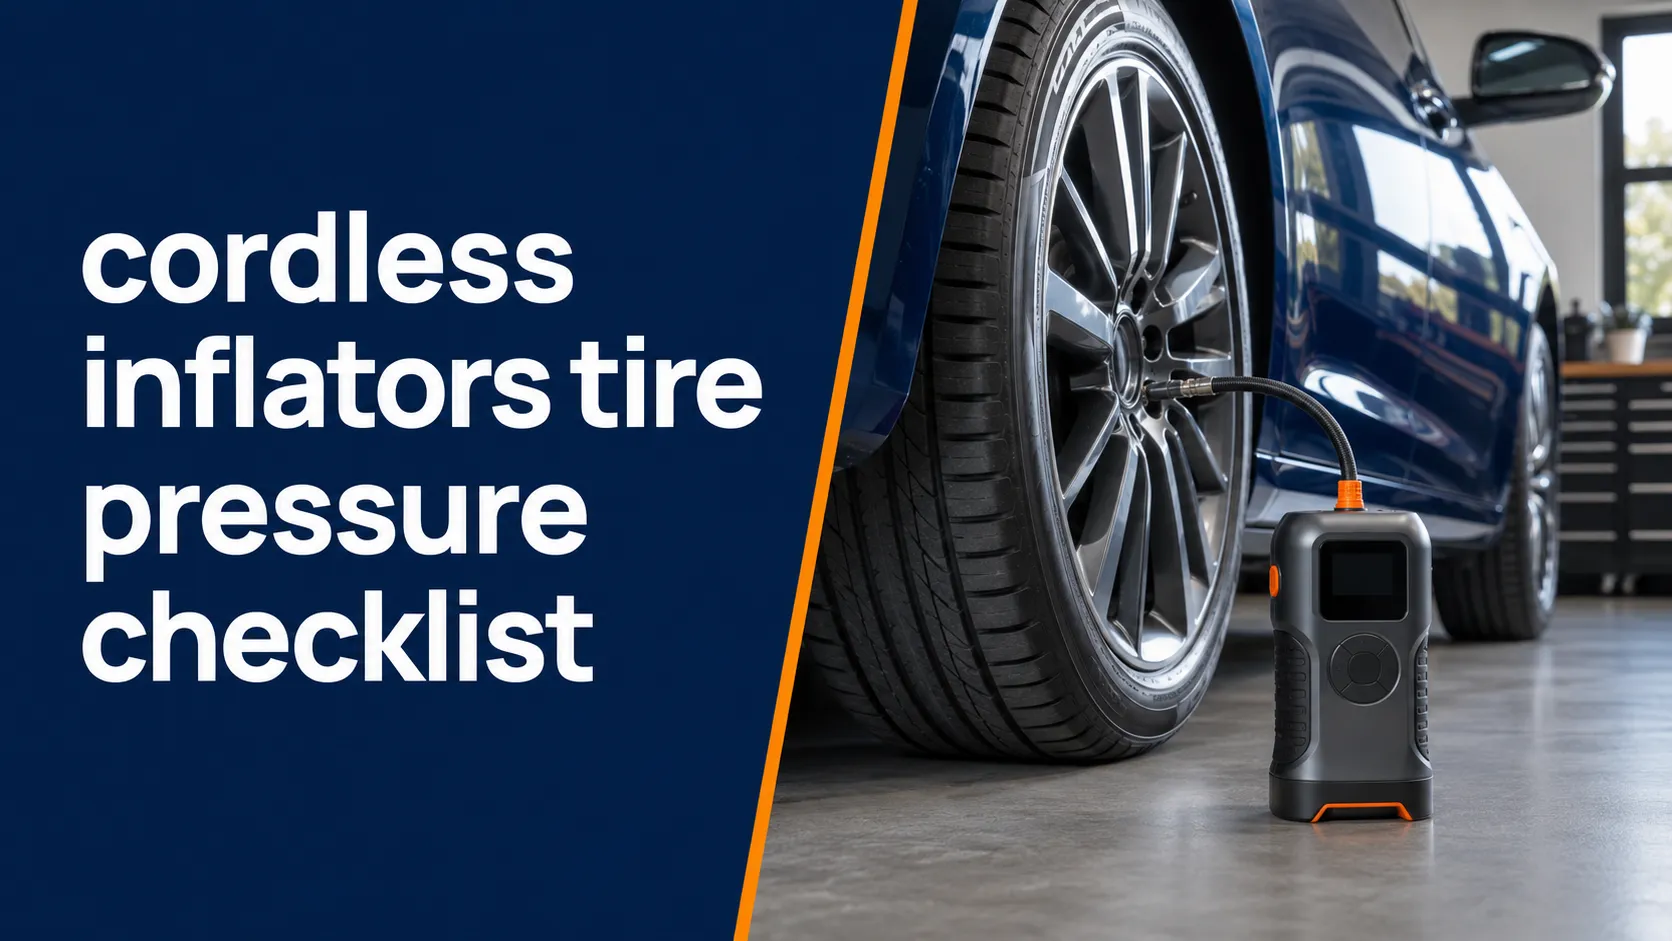
This cordless inflators tire pressure checklist gives you a safe routine for checking and filling car tires. It shows you where to find the right PSI. You will also learn how to inspect a tire, set up the pump, check the result, and spot danger signs.
A cordless inflator only adds air. It does not fix damage or prove that a tire is safe to drive on. Follow the car, tire, inflator, and battery manuals. Stop if the tire, wheel, valve, hose, tool, or battery looks unsafe.
Check tires when they are cold. Find the right pressure on the driver-side tire placard. Measure each tire with a good gauge and inspect it before adding air. Connect the inflator firmly and choose the right unit. Add only the missing air, then check the settled reading after the pump stops. Recheck monthly, before long trips, and when a warning appears.
The right cold pressure comes from the car maker, not the tire sidewall limit.
A cold reading gives the best comparison with the pressure printed on the placard.
Front, rear, and spare pressures can differ, so record each target before you begin.
Let the reading settle after airflow stops, then confirm it with a reliable gauge.
Cordless Inflators Tire Pressure Checklist: The Core Rules
A good checklist starts with the car rather than the pump. Tire pressure supports the load and driving needs set by the car maker. The right target may change by axle, car setup, tire spot, or load.
The National Highway Traffic Safety Administration tire guide says to check all tires at least once a month. This includes the spare. The tires should be cold. NHTSA defines cold tires as those on a car that has not been driven for at least three hours. It also says TPMS does not replace a monthly gauge check.
Do not guess one PSI for all cars. Cars, SUVs, pickups, compact spares, and heavy loads can need different pressures. Read the tire and loading label near the driver-side door. Use the owner’s manual when you need more detail.
Use the recommended cold pressure listed by the vehicle manufacturer. Do not use the maximum pressure molded into the tire sidewall as the everyday target. The front and rear values may be different.
What You Need Before Checking Tire Pressure
You do not need a large tool kit. You do need the correct pressure information and equipment that is in good condition. Gather everything before removing a valve cap so the tire remains open for as little time as possible.
- A charged cordless inflator that supports your tire size and required pressure.
- The correct battery and charger specified for that inflator.
- A second tire pressure gauge for the final check.
- The car’s tire-and-loading placard or owner’s manual.
- A note on the correct front, rear, and spare pressure targets.
- Valve caps that are clean and undamaged.
- A flashlight for checking tread, sidewalls, wheels, and valve stems.
- Roadside warning equipment when the location requires it.
Read the inflator manual before the first use. Learn how to change pressure units, set the target, connect the hose, and follow the duty cycle. There is no single run-time or cooling period that applies to every inflator.
Save the front, rear, and spare cold-pressure targets in your phone. Also take a clear photo of the car placard. This prevents guessing when you need to use the inflator away from home or in poor light.
Where to Find the Correct PSI
| Source | What It Tells You | How to Use It |
|---|---|---|
| Driver-side tire placard. | Cold pressure and original tire details. | Use the value for the right axle and listed load. |
| Owner’s manual. | Car, spare, load, and TPMS guidance. | Use it when the placard needs more detail. |
| Tire sidewall. | Tire size, load data, and maximum markings. | Do not use the maximum mark as the daily target. |
| Inflator display. | Current pressure, unit, and target. | Check PSI, kPa, or bar before starting. |
| Separate pressure gauge. | A second tire-pressure reading. | Use it after airflow stops to check the result. |
The placard may list different values for the front and rear tires. Never assume all four need the same target. A compact spare may need a much higher pressure. Check its label and the owner’s manual. Do not copy the road-tire setting.
If the car has new tire or wheel sizes, the original placard is still the starting point. Ask the car maker, tire maker, or a tire expert if the new size or load setup needs a different target.
Complete Tire Pressure Checklist Before Inflation
Do these checks in order. First, find the right target. Next, look for clear damage. Then make sure the tool is ready before you add air.
-
Park Safely and Let the Tires Cool
Use firm, level ground away from moving traffic. Apply the parking brake. For the best cold reading, check after the car has been parked for at least three hours.
-
Record Every Pressure Target
Read the driver-side placard. Write down the front, rear, and spare targets. Note any different guidance for load or towing.
-
Inspect the Tire and Wheel
Look for a bulge, deep cut, split, bare cord, bad cracks, damaged bead area, or bent wheel. Also look for signs that the tire was driven flat.
-
Inspect the Valve Stem
Check for cracks, bending, looseness, or damage around the valve. Do not attach the inflator to a valve that appears unsafe.
-
Check the Inflator and Battery
Confirm the battery is charged and seated correctly. Inspect the hose, connector, housing, vents, and battery for wear or damage.
-
Measure the Starting Pressure
Remove the valve cap and press the gauge straight onto the valve. Record the reading for each tire before deciding how much air to add.
-
Attach the Hose Firmly
Connect the fitting straight and secure it as the manual shows. A continuing hiss usually means the connection needs to be reseated.
-
Select the Correct Unit and Target
Choose PSI if that matches the placard. Enter the correct value for that tire position, then check the display again.
-
Inflate While Watching the Tool
Keep the inflator stable and its vents clear. Stay nearby. Watch the pressure, tire, hose, sound, heat, and battery behavior.
-
Stop, Verify, and Finish
Let auto-stop work or stop manually at the target. Allow the reading to settle, verify with the gauge, disconnect carefully, and replace the valve cap.
Repeat the same process for each tire. Do not rush the last one. A checklist works because you do the same safety and pressure checks at each wheel.
How to Read the Result and Decide What to Do
| Reading or Condition | What It May Mean | Next Action |
|---|---|---|
| Slightly below the cold target. | Normal air loss or a weather change may be the cause. | Inspect, add the missing air, and check again. |
| Above the cold target before driving. | The tire may have too much air. | Follow the car guide and release air slowly if needed. |
| Reading changes while air flows. | Flow through the hose can make the display move. | Stop the pump and check the settled pressure. |
| One tire is much lower than the others. | It may have a puncture, valve leak, bead leak, or wheel fault. | Add air only if it looks safe. Then book a tire check. |
| Pressure drops again soon. | The tire or wheel is not holding air. | Stop repeated top-ups and get tire service. |
| Bulge, split, bare cord, or damaged wheel. | The tire or wheel may be unsafe. | Do not add air or drive. Get expert help. |
Switch off the inflator if a tire bulge grows or the tire changes shape. Stop for a crack sound, smoke, sparks, a burning smell, melting, hard shaking, a leaking battery, or very high heat. Move away from an unsafe tire. Do not charge or reuse a battery that is swollen, cracked, leaking, or very hot.
Cold Tires, Warm Tires, and Weather Changes
Tire pressure changes as tire heat changes. Driving warms the tire and can raise the reading. That is why the cold reading is the best match for the car placard.
If a tire looks low during a trip, your safety comes first. Move away from traffic when you can. Measure the tire and follow the car maker’s guide. NHTSA says to check and fix the pressure again when you can get a cold reading.
Do not release air from a warm tire just because the number is above the cold target. The pressure can fall as the tire cools. If you are not sure what to do, read the owner’s manual or ask a tire expert.
Check pressure after a major weather change and before a long trip. Also check when the car has been parked for a long time. Use the gauge reading and the car target. Do not add a fixed amount for each season.
TPMS and the Pressure Checklist
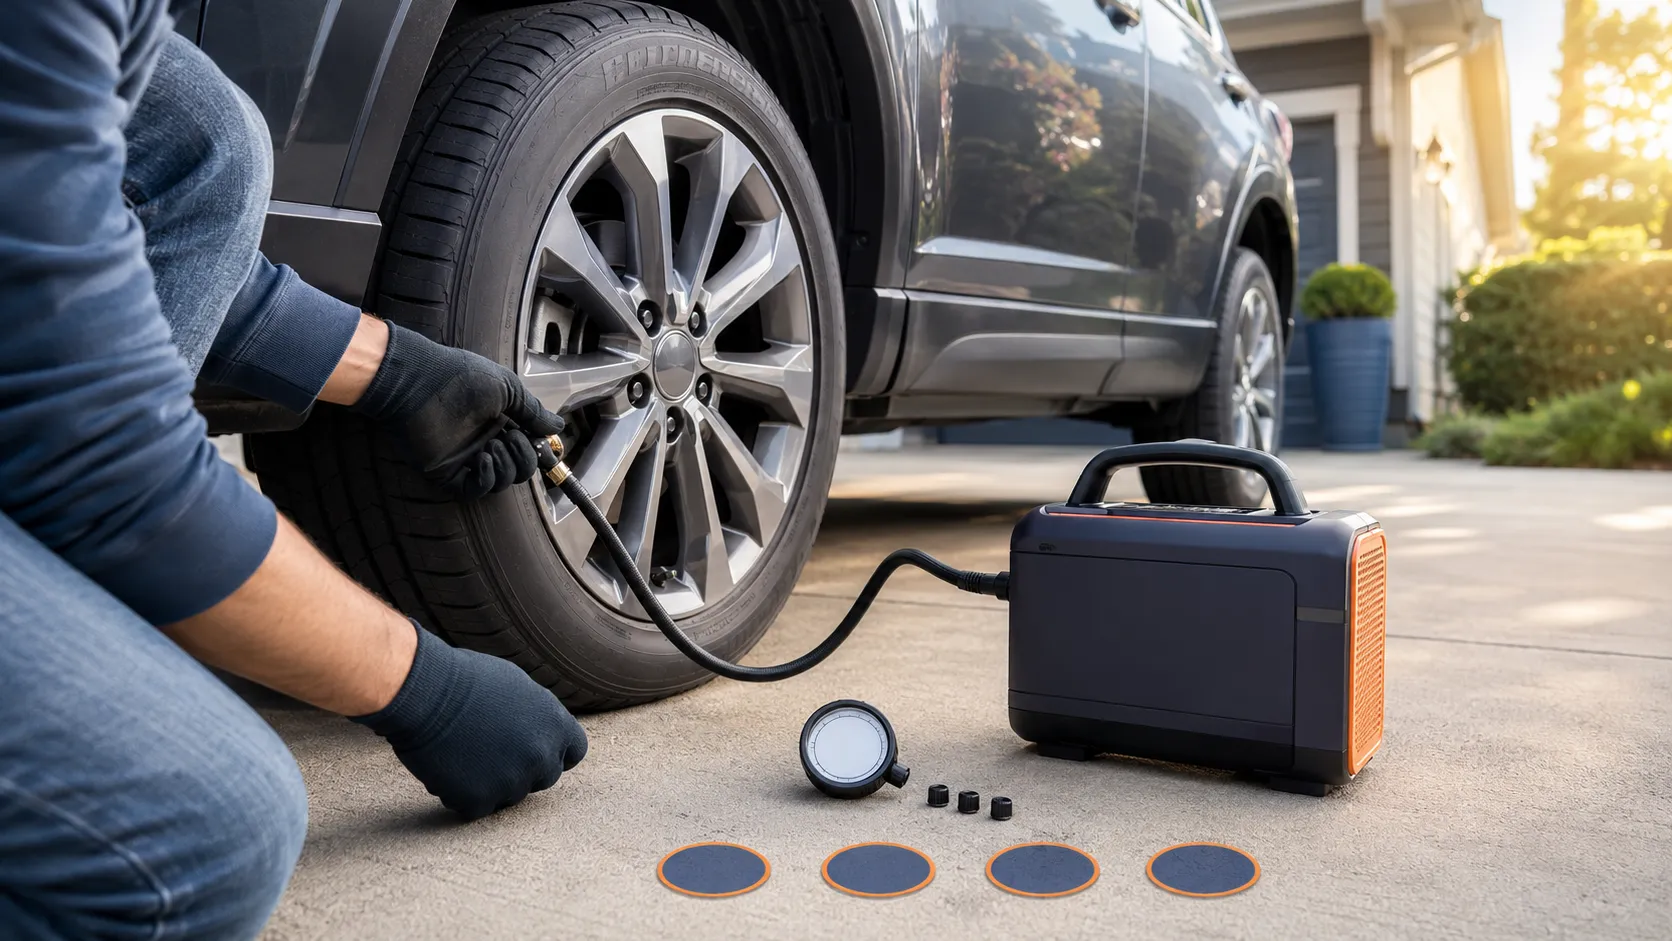
A tire pressure monitoring system is an alert system, not your everyday gauge. NHTSA explains that the warning usually appears when a tire is already significantly underinflated. A tire can need adjustment before the warning turns on.
When the TPMS light appears, inspect and measure each tire as soon as it is safe. Some cars show the pressure for each tire. Others show only a general warning. Follow the owner’s manual for any reset steps after you fix the pressure.
A flashing warning followed by a light that stays on can point to a system fault. Do not disable or ignore it. Ask the dealer or a qualified technician to inspect the system.
A light that goes out as the tires warm does not prove the cold pressure is correct. Measure all tires when cold. A marginally low tire may cross the warning threshold again on the next cold morning.
Common Checklist Mistakes
The sidewall maximum is not the normal car target. Use the placard.
Underinflation can be hard to see. Measure every required tire.
Confirm the final settled pressure with a reliable gauge.
Check PSI, kPa, or bar before setting the target.
Follow the car guide and check again after the tire cools.
Pressure that keeps falling needs a tire shop check.
Another mistake is forgetting the spare. A spare can lose pressure while sitting unused. Its target may differ greatly from the road tires, so use its label and the owner’s manual.
When to Check Tire Pressure Again
Use an accurate gauge while the tires are cold.
Check each road tire and the spare before loading the car.
Measure rather than guessing how much pressure changed.
Inspect the tire, wheel, valve, and pressure for signs of damage.
Check all tires promptly and follow the owner’s manual.
Recheck soon and arrange service if the loss returns.
Keep a short record if one tire often needs air. Note the date, cold pressure, amount added, and weather. This can help a tire shop find a slow leak, bad valve, or wheel problem.
Frequently Asked Questions
What PSI should I set on a cordless tire inflator?
Set the recommended cold pressure listed on the vehicle’s tire-and-loading placard or in the owner’s manual. Check the value for the correct front, rear, or spare tire position. Do not use the tire sidewall maximum as the everyday target.
Should I check tire pressure when the tires are cold?
Yes. A cold reading is the best comparison with the vehicle placard. NHTSA describes cold tires as tires on a vehicle that has not been driven for at least three hours.
Can I trust the automatic shutoff on my inflator?
Automatic shutoff is helpful, but you should still supervise the tool and verify the settled pressure after it stops. A wrong unit, target-setting error, poor valve connection, or inaccurate sensor can affect the result.
How often should I use this tire pressure checklist?
Check all tires, including the spare, at least monthly when cold. Check before long trips and after major weather changes. Check again after a pothole or curb hit. Also check when the TPMS light or odd handling points to a problem.
Why does the pressure reading change while the inflator runs?
Airflow through the hose and valve can make the display move during inflation. Stop the pump, let the reading settle, and check again. Use a separate reliable gauge if the reading seems unstable or questionable.
What should I do if one tire keeps losing pressure?
A repeating loss may come from a puncture, valve, wheel, bead seal, or tire damage. Do not rely on repeated top-ups. Arrange an inspection by a qualified tire professional, especially if the loss is rapid.
Does the TPMS light replace manual tire pressure checks?
No. TPMS warns when pressure is already significantly low and may not give a precise reading for every tire. Continue monthly cold-pressure checks with an accurate gauge and follow the vehicle manual when the warning appears.
Related Guides
Conclusion: Use the Checklist Every Time
A cordless inflators tire pressure checklist removes guesswork from this key task. Start with cold tires and the pressure on the car placard. Check each tire, wheel, valve, hose, and battery before adding air.
Stay with the inflator while it runs. Use the right pressure unit and check the reading after airflow stops. Recheck each month and before long trips. If a tire has clear damage or loses air again, stop adding air and visit a tire shop.
Use the same routine each time. Find the placard target, take a cold reading, look for damage, add air with care, and check the result. A cordless inflator can fix low pressure. It cannot make a damaged tire safe to drive.

2 thoughts on “Cordless Inflators Tire Pressure Checklist for Drivers”