
This cordless inflators troubleshooting guide helps you find common power, airflow, gauge, battery, and heat problems. Start with simple external checks. A low charge, loose hose, wrong setting, blocked vent, or leaking tire can make a healthy inflator seem broken.
Do not open the tool or battery pack during basic diagnosis. Stop at once for smoke, sparks, melted parts, a burning smell, leaking battery fluid, or severe heat. Use manufacturer-approved service when safe checks do not solve the fault.
Turn the inflator off and let it cool. Check the battery charge and seating. Confirm the pressure unit and target. Inspect the hose, connector, valve, and air vents. Then test the tool on a sound tire. If it still fails, repeats a shutdown, gives a false reading, or shows damage, stop using it and contact the maker or an approved repair service.
A low, cold, loose, or damaged battery can prevent startup.
A kink, poor valve seal, or tire leak can reduce airflow.
Pressure may move while air flows through the hose.
Every model has its own run time and cooling period.
Cordless Inflators Troubleshooting Guide: Start Here
A cordless inflator needs four things to work well. It needs steady battery power, an open air path, a tight valve connection, and a working pressure control system. Trouble in any one area can stop inflation.
First, decide whether the fault is in the inflator or the tire. A pump may run normally yet fail to raise pressure when the tire, valve, wheel, or bead seal leaks. An inflator only adds air. It cannot repair the leak.
Use the error code and warning-light section in your own manual. The same light can mean different things on different models. Do not clear a warning by bypassing a sensor or battery safeguard.
Fast Symptom and Solution Table
| Symptom | Common Cause | Safe First Check | Stop When |
|---|---|---|---|
| No power. | Low charge, loose pack, or heat protection. | Charge as directed. Then reseat the battery. | The pack is swollen, leaking, cracked, or hot. |
| Motor runs, but pressure stays low. | Loose connector, hose leak, or tire leak. | Turn it off. Reconnect and inspect the air path. | The tire or valve has visible damage. |
| It stops before the target. | Weak battery, heat protection, or overload. | Let it cool. Try a charged, approved battery. | The shutdown repeats or a hot odor appears. |
| The gauge jumps or seems wrong. | Airflow, poor seal, wrong unit, or sensor drift. | Stop airflow. Compare with a separate gauge. | The reading remains clearly unreliable. |
| Auto-stop does not work. | Wrong target, poor connection, or control fault. | Stop it by hand. Review the manual. | Pressure rises past the correct target. |
| The inflator becomes very hot. | Long run time, large tire, or blocked vent. | Switch it off. Allow full cooling. | There is smoke, melting, or extreme heat. |
The NHTSA TireWise guidance says to use the cold pressure listed by the vehicle maker. Look on the driver-side door placard or in the owner’s manual. The maximum number on the tire sidewall is not the normal target for your car.
What You Need Before Troubleshooting
- The inflator, battery, and charger manuals
- A fully charged, approved battery
- A reliable separate tire pressure gauge
- A sound tire with a known valve condition
- A clean, dry cloth and a soft brush
- The correct valve adapter, if one is needed
- A safe, dry work area away from traffic
You do not need to open the housing for these checks. Do not use a metal probe on battery contacts. Do not put oil, water, cleaner, or shop air into the tool unless its manual calls for that exact method.
How to Troubleshoot a Cordless Inflator Step by Step
-
Make the Area Safe
Park on stable ground away from moving traffic. Apply the parking brake. Keep children and pets away from the tire and tool.
-
Turn Off and Inspect Everything
Look for cracks, exposed wire, a damaged hose, wet contacts, loose parts, and battery swelling. Stop if you find unsafe damage.
-
Let the Tool Cool
A hot inflator may have entered thermal protection. Wait for the full cooling time in the manual before another short test.
-
Check the Battery
Confirm the charge and approved battery type. Remove and reseat a detachable pack as directed. Make sure it latches fully.
-
Check the Display and Settings
Select the correct unit, such as PSI. Enter the vehicle maker’s target. Clear an old memory setting only by the manual’s method.
-
Inspect the Hose and Connector
Straighten safe bends. Check both ends for cracks or looseness. Seat the connector straight on the tire valve.
-
Test on a Sound Tire
Add only a small needed amount of air. Watch the display and listen for steady operation. Never leave the tool running alone.
-
Verify the Result
Stop airflow and let the reading settle. Compare it with a reliable gauge. Repeat once if the first connection was poor.
-
Decide Whether Service Is Needed
Stop after repeated failure, an unsafe warning, or a large gauge error. Contact the maker or a qualified approved service shop.
Change only one thing at a time. Charge the battery, test, then check the hose, and test again. This makes the cause easier to find. It also prevents a good battery, tire leak, and loose connector from being confused with one internal fault.
Why the Cordless Inflator Will Not Turn On
Start with the battery. A pack can show charge yet drop voltage when the motor asks for power. Cold, age, poor contacts, or internal damage may make this worse.
Remove and install the pack only as directed. Do not force it. Check that the latch closes. If the charger shows a warning, use the charger manual to identify it. Never try a random pack just because it fits the slot.
Remove it with the tool off. Reinstall it until the proper latch or click is confirmed.
Charge it with the approved charger and within the allowed temperature range.
Let it return to an allowed range naturally. Do not use a heater or flame.
Stop if the button sticks, sparks, or works at random. Approved service is needed.
Do not use or charge a pack that is swollen, cracked, crushed, leaking, wet, or unusually hot. Stop for smoke, sparks, melted plastic, or a sharp odor. Follow the manufacturer’s emergency and disposal steps. Never open a sealed battery pack.
Why It Runs but Does Not Add Air
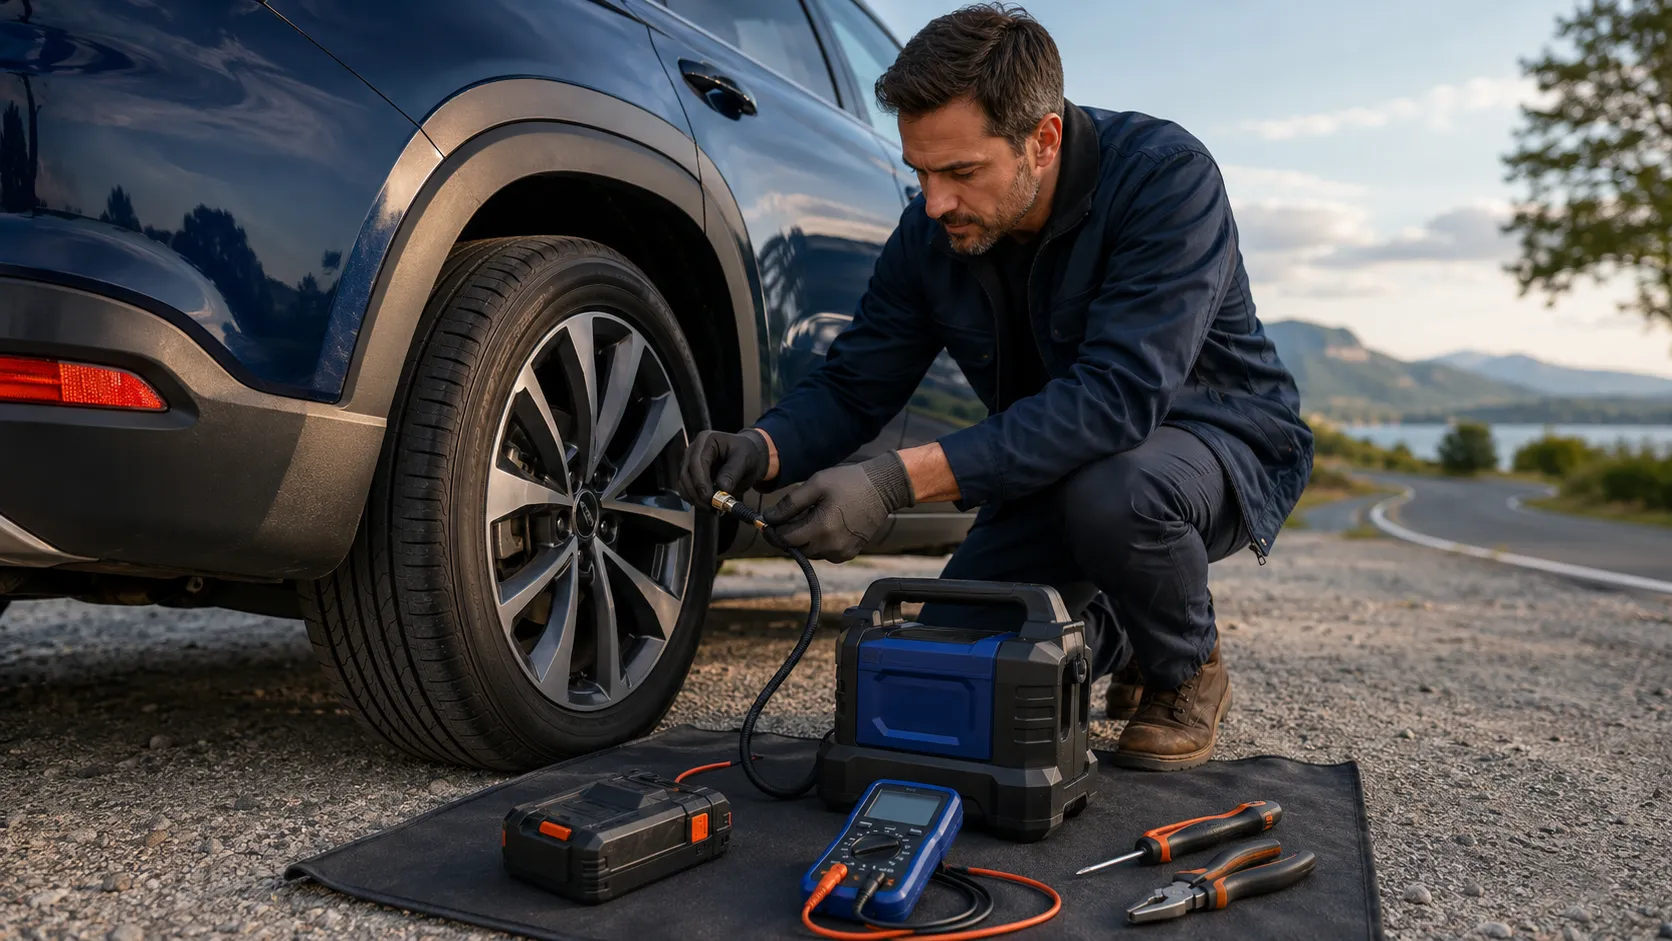
A running motor does not prove that air reaches the tire. The hose may leak. The connector may sit at an angle. The tire valve may be damaged. The tire itself may also have a fast leak.
Listen for Air Leaks
Turn off the pump before touching the connector. Refit it straight. A brief hiss during connection can be normal. A steady hiss can point to a poor seal, loose fitting, or valve problem.
Check for a Kink or Blocked Tip
Follow the hose from the pump to the valve. Remove a safe bend without pulling on the fittings. Use the correct adapter. Never push a pin, wire, or drill bit into the air path.
Inspect the Tire and Valve
A puncture, cracked valve, bent wheel, or bead leak can release air as fast as the inflator adds it. Stop if the tire has a bulge, split, exposed cord, or damaged wheel. A qualified tire technician should inspect it.
Test the inflator on a healthy tire that only needs a small top-up. If it works there, the first tire or valve may be the problem. Do not keep filling a tire that loses pressure fast.
Why It Stops Before Reaching the Target
Early shutdown often points to low power, high heat, a wrong setting, or a protection system. It can also happen when the current pressure is already above the selected target.
Read the display before restarting. Confirm the target and pressure unit. Let the unit cool for the exact time in its manual. For example, one official Milwaukee M18 inflator manual gives a specific run-and-cool cycle for that model. Other inflators use different limits.
There is no universal safe run time. Tire size, starting pressure, battery, heat, airflow, and tool design all matter. Follow your model’s operating and cooling limits. Do not restart it early just to finish one tire.
Why the Gauge or Auto-Stop Seems Wrong
A gauge can move while the pump runs because air is flowing through the hose. Stop the motor. Wait for the value to settle. Then compare it with a reliable separate gauge.
Also check the selected unit. A mix-up between PSI, bar, and kPa can create a serious target error. Verify the number before starting the pump.
Some models provide a sensor re-zero process. Use it only when the manual lists the exact steps. The Milwaukee manual above, for example, includes a model-specific re-zero method. Do not assume those button presses work on another inflator.
Turn the inflator off manually if pressure goes above the vehicle maker’s target. Do not rely on auto-stop when the reading is unstable or clearly wrong. Arrange approved service before using that function again.
Why the Inflator Is Slow, Loud, or Hot
Check charge, temperature, hose leaks, tire size, and the starting pressure.
Stop at once. A loose or worn internal part may need professional service.
Switch off and place the unit on stable ground. Stop if vibration continues.
Clear the vents, stop the tool, and allow full cooling before inspection.
Large SUV and pickup tires hold more air than many passenger-car tires. A small inflator may take longer and reach its duty-cycle limit sooner. Maximum PSI alone does not show how fast the pump can fill a large tire.
Keep every vent open. Do not cover the tool or set it on loose fabric. Some warmth can be normal. Smoke, melting, a burning smell, or heat that seems extreme is not a normal sign.
When to Repair, Replace, or Check the Tire
| What You Find | Best Next Step | Why |
|---|---|---|
| Loose external adapter. | Use the approved replacement. | This may be a simple user part. |
| Cracked hose or failed connector. | Ask the maker about an approved hose. | A pressure leak needs the correct part. |
| Large gauge error. | Stop using auto-stop. Seek service. | Wrong pressure can harm safe tire use. |
| Smoke, sparks, or battery swelling. | Stop all use. Follow emergency guidance. | The tool or pack may be unsafe. |
| Repeated shutdown after basic checks. | Use service approved by the maker. | An internal electrical or pump fault may exist. |
| The tire loses air again. | Arrange a skilled tire inspection. | The tire, valve, bead, or wheel may leak. |
Check the warranty before paying for repair. Do not open the tool if that could defeat a safety seal or warranty term. A low-cost sealed inflator may be more practical to replace. A replaceable hose, battery, or connector may be worth repairing with an approved part.
How to Prevent the Same Problem
- Charge the battery as directed before a trip.
- Inspect the hose, connector, vents, and case before use.
- Use the tire pressure on the vehicle placard.
- Keep the unit dry and the vents clear.
- Follow the exact duty cycle and cooling time.
- Compare the built-in gauge with a reliable gauge from time to time.
- Store the hose in a wide loop without sharp bends.
- Let the tool cool before closing it in a case.
- Secure the kit so cargo cannot crush it.
- Test it at home before a long drive.
Before leaving home, confirm the charge, hose seal, display, adapters, and separate tire gauge. A short top-up on a sound tire shows more than a battery light alone. Keep the manual with the kit so warning codes are easy to check.
Frequently Asked Questions
Why is my cordless inflator not turning on?
The battery may be low, loose, too hot, too cold, or damaged. Turn the tool off, inspect the pack, charge it as directed, and reseat it. Seek approved service if the problem remains.
Why does the inflator run but not add air?
Check for a loose valve connection, kinked hose, cracked fitting, blocked adapter, or leaking tire. Stop if the tire, valve, hose, or wheel has visible damage.
Why does my cordless inflator stop early?
A weak battery, heat protection, wrong target, or overload may stop it. Let it cool for the stated time, check the settings, and try a charged approved battery.
How can I check whether the pressure gauge is accurate?
Stop the pump and let the reading settle. Compare it with a reliable separate gauge on a sound tire. Repeat the check after making a firm valve connection.
What should I do if auto-stop fails?
Turn the inflator off manually before pressure passes the correct target. Check the unit and setting. Stop using auto-stop if its reading remains unreliable, and seek approved service.
Is it normal for a cordless inflator to get hot?
Some warmth can be normal because the motor and pump create heat. Follow the duty cycle. Stop for extreme heat, smoke, melting, sparks, or a burning smell.
Can I repair a cordless inflator myself?
You may be able to replace an approved external hose or adapter. Do not open a sealed tool or battery unless the maker provides a user repair process. Use approved service for internal faults.
Related Guides
Conclusion: Cordless Inflators Troubleshooting Guide
This cordless inflators troubleshooting guide begins with the battery, heat, settings, hose, valve connection, and tire. Check one area at a time. Test only on a sound tire and verify the final pressure with a reliable gauge.
Stop when the failure repeats or anything looks unsafe. Do not bypass battery protection, pressure controls, or thermal safeguards. A damaged tool needs manufacturer-approved service. A tire that will not hold air needs a qualified tire inspection.
Most safe first checks take only a few minutes. Start with power, then follow the air path, settings, and gauge. If simple checks fail, protect the tire and yourself by stopping. Repair or replace the inflator through an approved route instead of forcing it to run.