
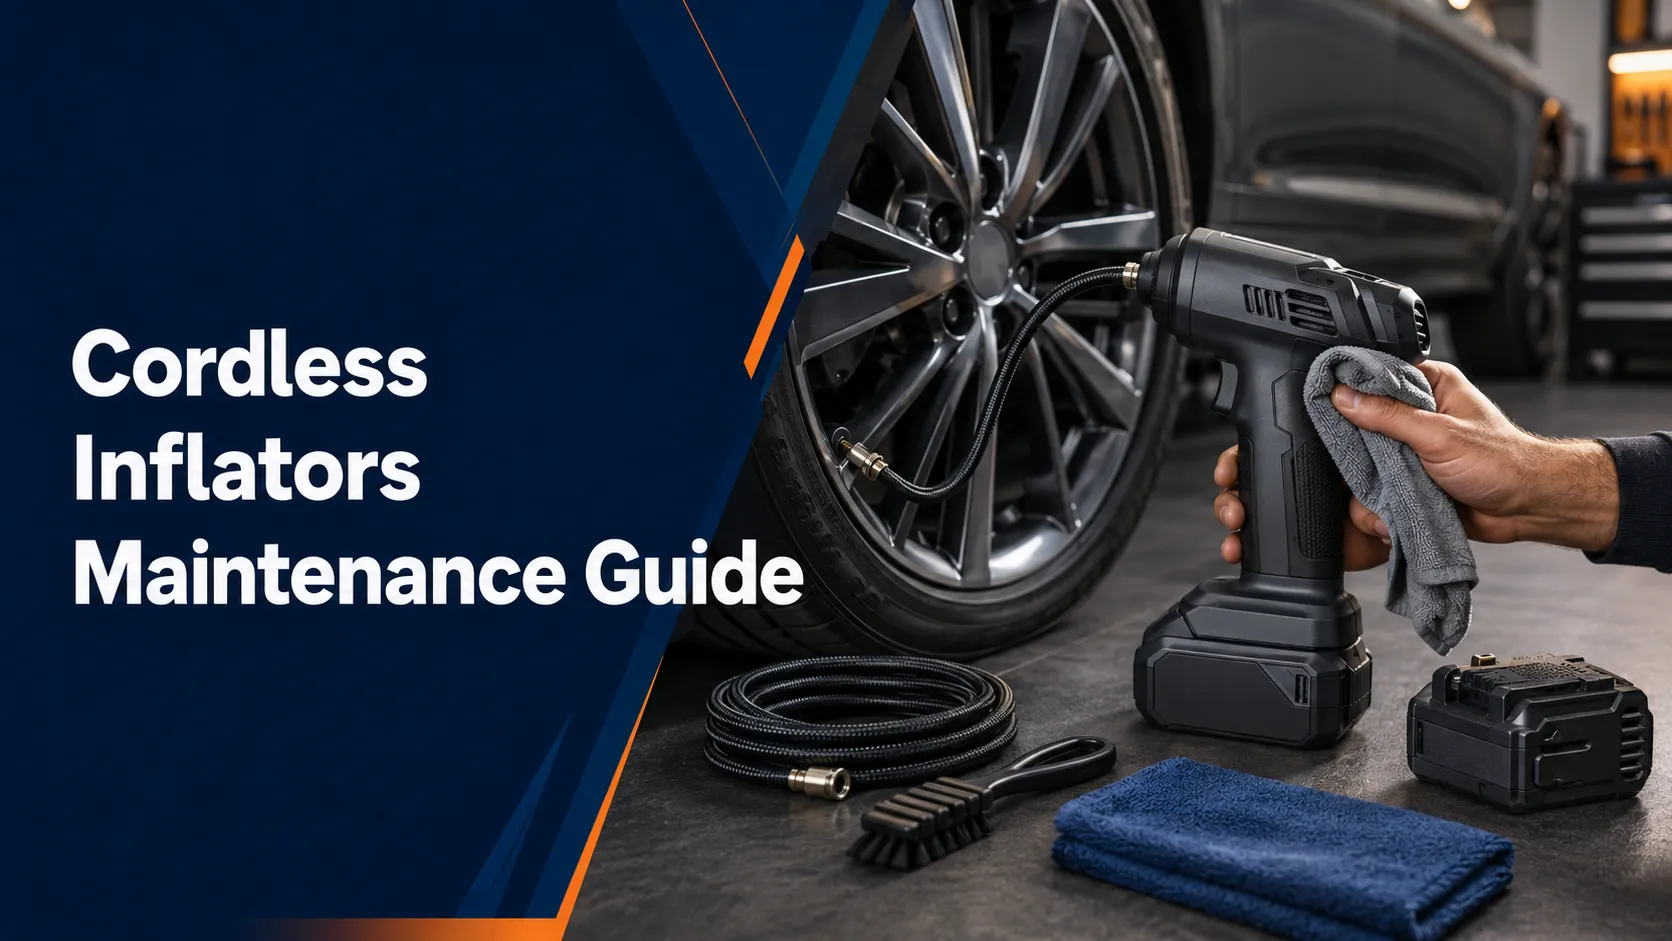
This cordless inflators maintenance guide gives you a simple care plan for the battery, hose, gauge, vents, case, and accessories. A short check before and after use can catch many problems early.
Good care does not require taking the tool apart. Keep it clean, dry, charged as directed, and stored within the limits in its manual. Stop using it if you find damage, high heat, smoke, leaks, or an unsafe battery.
Inspect the hose, connector, case, vents, battery, and controls before each use. Wipe the inflator after use and let it cool before storage. Charge only with the approved charger. Avoid sharp bends in the hose. Compare the built-in gauge with a reliable tire gauge from time to time. Before a long trip, test the tool on a healthy tire and confirm that every needed adapter is in the case.
A quick visual check can reveal cracks, loose parts, blocked vents, or battery damage.
Do not seal a warm inflator in its case or place it against items that heat can harm.
Store it in a wide loop. A sharp bend can weaken the hose or strain its fittings.
Compare readings at rest. Seek approved service if the difference is large or grows.
Cordless Inflators Maintenance Guide: What Care Matters?
A cordless inflator has several parts that work under heat and pressure. The battery powers a motor. The motor drives a small pump. Air then moves through the hose and valve fitting. A sensor shows the pressure.
Dirt, moisture, heat, poor storage, and a weak connection can affect these parts. A low battery may also make the motor slow down or stop. Basic care helps you find these issues before a roadside need.
Maintenance should remain simple. Most owners only need to inspect, clean, charge, organize, and test the unit. Do not open the pump or battery pack unless the manufacturer gives a user service process.
There is no single service interval for every cordless inflator. Battery design, duty cycle, seals, filters, and storage limits vary. Your model manual always takes priority over a general guide.
What You Need for Basic Maintenance
- A clean, dry microfiber cloth
- A soft brush for loose surface dust
- A reliable separate tire pressure gauge
- The approved battery charger
- The inflator and battery manuals
- The original adapters and storage case
- A small note or phone record for test dates
You usually do not need oil, grease, solvents, or compressed cleaning air. Many small inflators are made as sealed units. Adding a fluid or forcing air into a vent may cause damage.
Check the manual before using any cleaner. A dry cloth is often enough for routine dust. If the unit has dried mud or road salt, follow the maker’s cleaning steps.
A Complete Cordless Inflator Maintenance Routine
-
Turn Off and Let the Tool Cool
Place the inflator on a firm, dry surface. Wait until the pump, hose fitting, and battery feel cool enough to handle.
-
Remove the Battery When Directed
Follow the manual. If the pack is removable, taking it out can prevent an accidental start during cleaning and inspection.
-
Inspect the Housing and Controls
Look for cracks, loose panels, missing screws, damaged buttons, and a screen that flickers or fails to show all digits.
-
Check the Hose and Connector
Run your eyes along the hose. Look for cuts, worn spots, bubbles, hard bends, loose fittings, or a damaged locking lever.
-
Clean the Outside and Vents
Wipe the housing with a dry cloth. Use a soft brush for loose dust near vents. Do not push dirt deeper into the tool.
-
Inspect the Battery and Contacts
Check for swelling, cracks, leaks, rust, dark marks, or heat damage. Keep the contacts dry and free from metal objects.
-
Check the Gauge at Rest
Attach the hose to a healthy tire. Compare the stopped reading with a reliable gauge. Use the same pressure unit for both.
-
Run a Short Function Test
Add a small amount of air to a sound tire when needed. Listen for a steady motor and check that auto-stop works as described.
-
Organize and Store Every Part
Make a wide loop in the hose. Return the tips, charger, and gauge to the case. Store the unit dry and secure.
Set a repeating reminder before the season when you travel most. A five-minute garage check is easier than finding a dead battery or missing valve tip beside the road.
Cordless Inflator Maintenance Schedule
A schedule makes care easier to remember. Adjust this plan to match how often you use the tool. A unit used every week needs checks more often than one kept only for road trips.
| When | What to Check | Action |
|---|---|---|
| Before each use | Battery, case, hose, fitting, vents, display, and tire | Do not start if you find damage |
| After each use | Heat, dirt, moisture, loose tips, and hose position | Cool, wipe, organize, and store |
| From time to time | Battery charge and gauge reading | Charge as directed and compare gauges |
| Before a long trip | Full function, adapters, charger, and vehicle pressure data | Test at home and pack every part |
| After dusty or wet use | Housing, vents, hose, contacts, and case | Clean and dry by the approved method |
| Before long storage | Battery level, damage, storage temperature, and case | Follow the battery manual and secure the tool |
Keep a simple record of charging dates and gauge checks. A pattern of shorter run time, slow pumping, or changing gauge readings can be easier to spot when you have earlier notes.
How to Care for the Battery
The battery is often the part most affected by storage. Charge it only with the approved charger. Use the battery type listed for the tool. A pack that fits is not always a safe match.
Read the manual for the correct charge level during storage. Some makers suggest a different plan for short and long storage. Do not guess at a fixed percentage for every battery.
Keep the pack away from water, flames, direct sun, and metal items. Coins, keys, screws, and tools can bridge battery contacts. This may cause heat or a short circuit.
Stop using a pack that is swollen, cracked, leaking, crushed, wet, or very hot. Stop for smoke, sparks, a sharp smell, or melted plastic. Follow the maker’s emergency and disposal steps. Do not open or repair a sealed battery pack.
A parked car can become very hot or cold. Those conditions may fall outside the limits for your battery. Check both the inflator and battery manuals before leaving the unit in a vehicle for long periods.
Cold can also reduce available battery power. Let a very cold pack reach an allowed operating range in a dry place. Never warm it with a flame, heat gun, hot water, or space heater.
Hose, Connector, and Adapter Care
The hose carries air under pressure. It also gets moved, twisted, and stored often. Check the full length before each use. Pay close attention near both ends because fittings can add stress there.
Do not pull the inflator by its hose. Do not wrap the hose tightly around the body unless the tool has a holder made for that method. A wide loop puts less strain on the material.
Keep the connector clean. Sand or grit can affect the seal and scratch the tire valve. Wipe the tip with a dry cloth. Do not insert a sharp object into it.
Check for a kink, loose fitting, blocked tip, low charge, or a tire leak.
Stop the pump. Refit the connector straight. Inspect the valve if the leak remains.
Do not force it. Use an approved replacement hose or arrange service.
Replace it with the correct maker-approved type before you need the tool.
How to Check Gauge Accuracy
A built-in gauge is helpful, but readings can change with airflow and connection quality. Compare pressure after the pump stops. Use one pressure unit, such as PSI, on both gauges.
Test on a healthy tire that is not losing air. Take a reading with the inflator. Remove it and check with a reliable separate gauge. Small differences can happen. The manual may give an allowed range.
Repeat the check to rule out a poor connection. If the gap is large, changes from test to test, or gets worse, stop relying on auto-stop. Ask the manufacturer or an approved service shop for help.
The NHTSA TireWise guide says to use the vehicle maker’s recommended cold pressure. Find it on the tire placard or in the owner’s manual. The maximum number on the tire sidewall is not the normal target for your car.
Cleaning and Storage Best Practices
Turn the inflator off before cleaning. Remove the battery when the manual directs you to do so. Let all parts cool. Wipe loose dust from the outside with a dry cloth.
Keep liquid away from the case openings, switches, contacts, and screen. Do not wash the unit under a faucet. Do not use gasoline, brake cleaner, or a strong solvent unless the manufacturer approves it.
Make sure the tool is dry before it enters a closed case. Store it where cargo cannot crush it. Secure the case so it does not move through the cabin during a hard stop.
- Do not place heavy tools on the hose or screen.
- Keep sharp items away from the hose and battery.
- Store tips in a small pocket or fixed holder.
- Keep the manual or a digital copy easy to find.
- Follow the stated temperature and charge limits.
- Keep the tool out of reach of children.
Common Maintenance Problems and Safe First Checks
Check the charge, battery seating, controls, and allowed temperature. Stop if the pack looks damaged.
Heat protection or low charge may be involved. Let it cool and check the manual before another test.
Stop airflow and refit the hose. Compare the resting value with a separate gauge.
Turn it off for grinding, scraping, severe vibration, or a sudden change in motor speed.
The tire, valve, wheel, or bead may leak. A tire shop should inspect fast or repeated air loss.
Check age, charge conditions, temperature, and tire load. Seek approved service if the drop continues.
Stop for smoke, sparks, a burning smell, melted parts, exposed wire, fluid leaks, severe heat, or a swollen battery. Also stop if the tire has a bulge, exposed cord, split sidewall, bent wheel, or rapid leak. Use a qualified tire shop or manufacturer-approved service when needed.
Maintenance Mistakes to Avoid
Do not run the pump just to “exercise” it for a long time. A short function check is enough. Always stay within the duty cycle in the manual.
Do not use high-pressure shop air to blow into the vents. It may push dirt deeper or harm a small part. Do not add oil to a sealed pump unless the instructions call for it.
Never test a gauge by overinflating a tire. Use a normal pressure range and a healthy tire. Set the target from the vehicle placard, not the maximum pressure molded into the sidewall.
Do not keep filling a tire that loses air quickly. The inflator is not a repair tool. Have the tire, valve, bead, and wheel checked by a qualified tire technician.
Frequently Asked Questions
How often should I maintain a cordless inflator?
Inspect it before and after each use. Check the charge and gauge from time to time. Test the full kit before a long trip. Follow the schedule in your model manual.
Should I oil a cordless tire inflator?
Not unless the manual clearly tells you to do so. Many compact pumps are sealed. The wrong oil or amount may cause damage.
How should I clean a cordless inflator?
Turn it off, let it cool, and remove the battery when directed. Wipe the outside with a dry cloth. Use only the cleaning methods approved in the manual.
How can I check the built-in pressure gauge?
Check a healthy tire after airflow stops. Compare the reading with a reliable separate gauge. Use the same pressure unit and repeat the check.
Can I leave a cordless inflator in my car?
Only if the tool and battery manuals allow the temperatures inside your car. Store the case dry, secure, and away from heavy or sharp cargo.
What should I do with a damaged battery?
Stop using and charging it. Keep away from heat and metal objects. Follow the manufacturer’s handling and disposal steps. Do not open the pack.
When does a cordless inflator need professional service?
Seek approved service for damaged wiring, leaks, severe heat, odd sounds, an unreliable gauge, a failed switch, or repeated shutdowns after basic checks.
Related Guides
Conclusion: Cordless Inflators Maintenance Guide
This cordless inflators maintenance guide keeps care simple. Inspect the tool before use. Keep the hose in a wide loop. Clean the outside gently. Charge and store the battery as directed. Check the gauge and the full kit before a long trip.
Do not take risks with damaged parts. Stop for smoke, severe heat, leaks, odd sounds, exposed wire, or battery swelling. Use manufacturer-approved service when basic checks do not solve the problem.
Five minutes of routine care can show whether your inflator is ready. Keep it clean, cool, dry, charged as directed, and complete with every adapter. Test it before a trip, not during an emergency.