
How often should cordless inflators be charged? Check the battery after every use, before a long drive, and during a monthly emergency-kit inspection. Recharge when the charge indicator is low or the manufacturer recommends it—not simply because a fixed number of days has passed.
Important LimitThere is no universal weekly or monthly charging interval. Battery chemistry, capacity, standby drain, storage temperature, and charger design vary, so the inflator and battery manuals take priority.
You usually do not need to fully charge a cordless inflator on a rigid schedule. Check its battery level after inflation and recharge if it is low. Before a road trip or severe-weather season, top it off if the manual allows. If the inflator lives in your vehicle, inspect it monthly so a discharged or damaged battery does not surprise you during an emergency. For long storage, follow the maker’s specified charge level and recheck interval.
How Often Should Cordless Inflators Be Charged?
The best schedule is based on readiness and battery condition rather than the calendar alone. A cordless inflator that fills several large tires may need charging immediately afterward. A unit used for a brief top-up may still have plenty of energy for another task.
For most drivers, a simple routine works well: check the indicator after use, inspect the tool monthly if it stays in the vehicle, and verify the charge before travel. Recharge when the indicator is low, the tool runs weakly, the manual directs you to, or you want a permitted top-up before an important trip.
| Situation | What to Do | Why It Helps |
|---|---|---|
| After a small tire top-up | Check the battery indicator; charge only if needed | A short use may consume little energy |
| After filling a very low or large tire | Let the battery cool, then check and recharge as directed | Longer pump operation can use more charge and create heat |
| Before a road trip | Confirm readiness and top off if the manual permits | The tool should be usable away from home |
| Stored in an emergency kit | Inspect monthly; recharge when the level is low | Self-discharge and standby electronics may reduce charge over time |
| Long-term indoor storage | Use the storage level and recheck interval in the manual | Manufacturers specify different storage practices |
| Battery is hot or very cold | Wait until it reaches the approved charging range | Many chargers pause when temperature is unsuitable |
Many current cordless inflators use lithium-ion batteries, which generally do not need to be completely discharged before charging. For example, Milwaukee’s battery instructions say its lithium-ion packs do not develop a memory after partial discharge and may be topped off before a large job. That is a model-family example, not permission to ignore your inflator’s own manual.
Why There Is No One Charging Schedule
Two cordless inflators can look similar but behave differently in storage. One may use a removable power-tool battery with a separate fuel gauge. Another may have a small built-in pack, USB charging, and electronics that draw a small amount of power while the tool is off.
Battery Capacity
A larger-capacity pack may handle more inflation work between charges, but tire size, starting pressure, temperature, and pump efficiency also matter.
Built-In Electronics
Displays, lights, USB outputs, and control boards can affect standby behavior. Some units retain a charge longer than others.
Storage Temperature
High heat can accelerate battery aging. A parked vehicle can become much hotter than the outdoor air, so check the stated storage limits.
Amount of Work
Adding a few PSI to one passenger-car tire is a different load from inflating multiple SUV or pickup tires.
Use the inflator display or removable battery’s fuel gauge when available. A three-bar or four-light indicator is usually approximate, so treat it as a readiness guide rather than a laboratory measurement. If the tool has no indicator, follow its status-light and charging instructions.
How to Charge a Cordless Inflator Safely
Charging is usually simple, but the correct cable, charger, location, and temperature still matter. Never assume that a connector fitting into the tool means the power source is approved.
-
Read the Charging Instructions
Confirm the required charger, cable, input rating, indicator meanings, and acceptable charging temperature for the exact inflator or battery model.
-
Inspect the Battery and Charger
Look for swelling, cracks, leaks, corrosion, damaged contacts, a frayed cable, a loose plug, or evidence of overheating. Do not charge damaged equipment.
-
Let a Hot Battery Cool
After a demanding inflation job, allow the tool or removable pack to return to the manufacturer-approved charging range. Do not force charging if the charger reports a temperature delay.
-
Choose a Safe Location
Charge on a stable surface in a dry, ventilated area away from fuel, flammable materials, direct sun, moisture, and places where the cord can be damaged.
-
Use the Approved Charging Equipment
Connect only the charger or power source specified by the manufacturer. Use a compatible platform charger for a removable pack and the correct input for a built-in battery.
-
Watch the Status Indicator
Check that the expected charging light appears. A fault pattern, unusual heat, odor, smoke, or repeated charging failure means you should disconnect power safely and stop.
-
Store It as Directed
When charging is complete, follow the manual on whether to remove the battery and unplug the charger. Keep the inflator, battery, and cable protected from moisture, impacts, and metal objects.
Pair the inflator check with a recurring vehicle task you already remember—such as checking tire pressure on the first weekend of each month. Confirm the hose, adapters, battery indicator, and charger are present. This is a readiness inspection, not an instruction to charge a full battery again.
Should You Charge After Every Use?
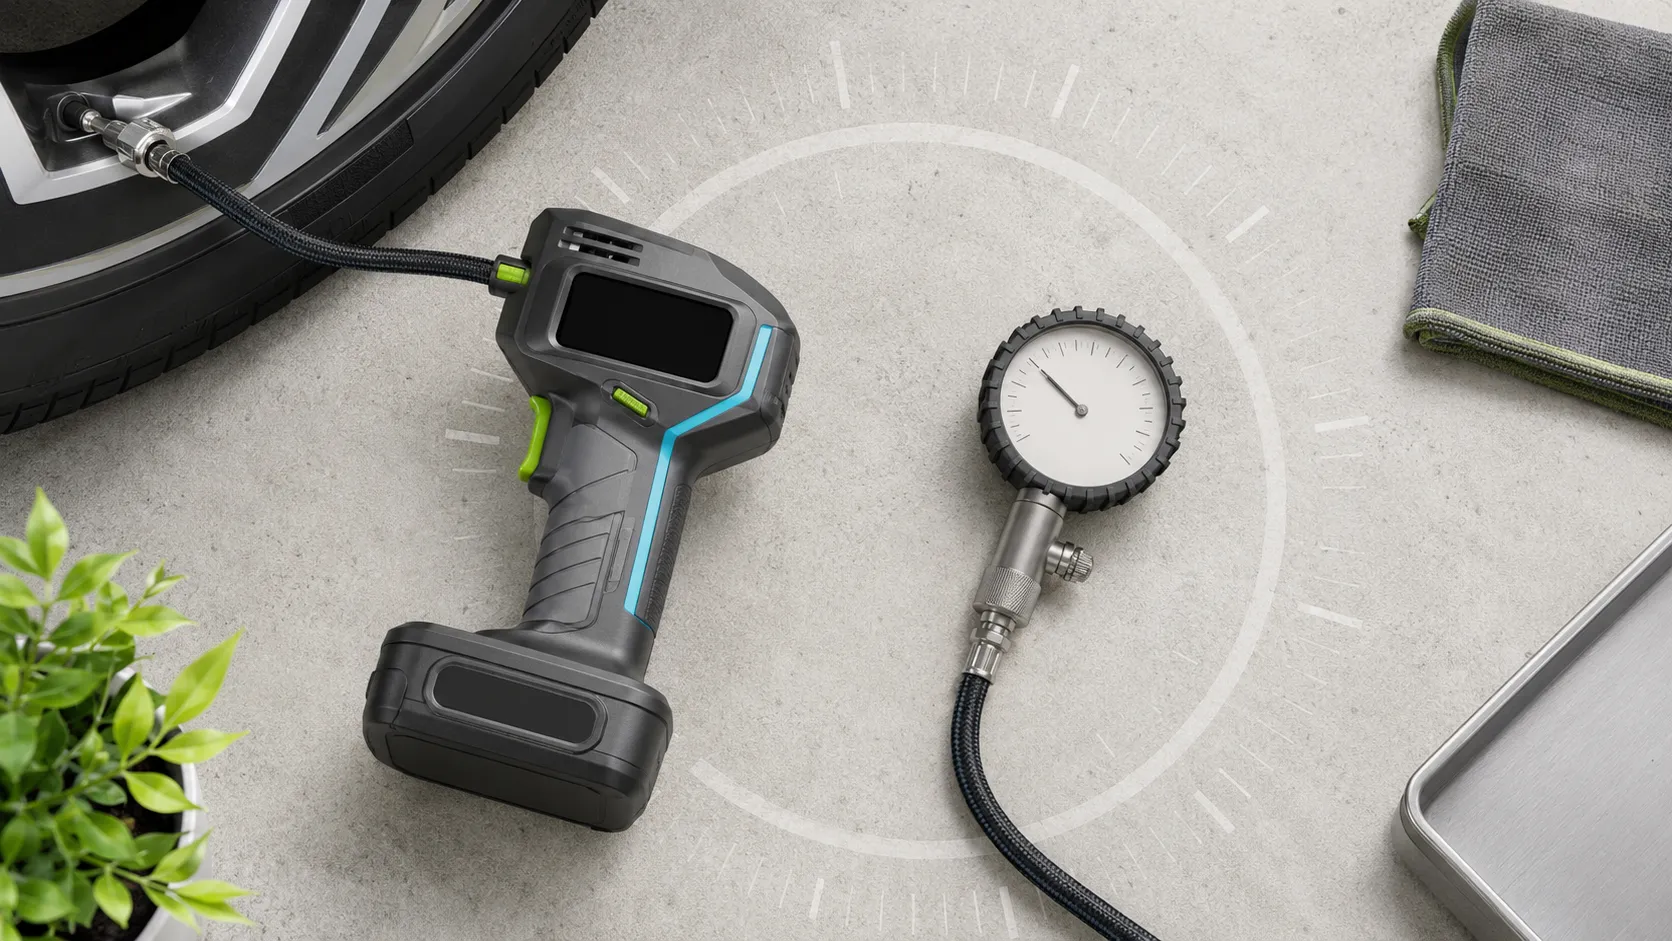
Not necessarily. If you only corrected one tire by a small amount and the battery still shows a strong charge, immediate charging may not be required. The better question is whether the remaining charge is enough for the next likely use.
Charging after every substantial use is a sensible readiness habit, especially when the inflator is part of your roadside kit. Let a warm battery cool first. If your unit uses a removable pack shared with other tools, also make sure someone does not remove that charged pack without replacing it.
Write the last inspection date on a small tag in the inflator case or add a repeating phone reminder. Record whether the battery was charged, not just whether the case was opened. This makes it easier to notice unusually fast charge loss.
Charging Before a Road Trip or Emergency Season
A pre-trip check should happen early enough to solve a problem. Waiting until departure morning leaves little time to replace a failed cable, incompatible charger, weak battery, or damaged hose.
- Check the battery indicator and top off if permitted.
- Confirm the correct charger or charging cable is packed.
- Inspect the battery case, contacts, hose, and valve connector.
- Verify that the inflator powers on and the display is readable.
- Confirm the pressure unit is set correctly, such as PSI.
- Find the recommended cold tire pressure on the vehicle placard.
- Store the unit where cargo cannot crush or puncture it.
Cold weather may temporarily reduce available battery performance, while summer heat inside a vehicle can exceed the battery’s storage limit. A garage or indoor storage area may be more suitable when the manual does not permit prolonged in-vehicle temperatures.
How to Store the Battery Between Uses
Follow the exact storage guidance for your model. Some manufacturers specify a particular charge level for long storage, while others focus on a cool, dry location and periodic inspection. Do not copy a storage percentage or interval from an unrelated brand.
Milwaukee’s published M18/M12 charger manual, for example, says to store its packs at room temperature away from moisture and warns against prolonged high-temperature storage. It also says that, as a general practice, chargers should be unplugged and batteries removed when not in use. Read the manufacturer battery and charger manual for the exact product you own.
- Keep the battery dry and protected from rain or condensation.
- Prevent keys, coins, tools, or other metal objects from touching exposed terminals.
- Do not store the inflator where it can be crushed by luggage or cargo.
- Avoid direct sunlight and storage temperatures outside the manual’s limits.
- Remove a removable battery if the manufacturer recommends separate storage.
- Check the battery condition and charge level before returning it to the vehicle.
Do not charge or use a battery that is swollen, cracked, leaking, unusually hot, wet, badly corroded, or producing an odor. Stop using a charger with a damaged cord, plug, housing, or repeated fault indication. Do not open the battery or inflator. Contact the manufacturer or an authorized service provider for guidance.
Common Charging Problems and Safe First Checks
No Charging Light
Check the outlet, cable seating, charger connection, and manual. Stop if the plug, cord, or charge port is damaged.
Battery Is Too Hot or Cold
Move it to a safe indoor environment and let it reach the approved range naturally. Do not heat, chill, or cover it to force charging.
Charge Drops Quickly
Confirm the tool was fully charged and stored within limits. Rapid repeat loss can indicate battery aging, standby drain, or a fault.
Tool Stops Under Load
A low charge, hot battery, large tire, or protection circuit may be involved. Let it cool, recharge as directed, and check the duty cycle.
Do not bypass temperature protection, substitute an unapproved charger, bridge battery contacts, or attempt a homemade battery repair. If a correct, undamaged charger repeatedly reports a fault, ask the manufacturer or an authorized service center to inspect the battery and charger.
Signs the Battery May Need Replacement
A battery that has aged or suffered heat damage may charge normally yet provide much less inflation time than before. One weak result is not proof of failure because cold temperature, a nearly flat large tire, or a restricted hose can also increase the load.
Look for a pattern across several normal uses. Replacement or professional evaluation may be appropriate when the battery repeatedly loses charge in storage, stops well before its previous runtime, shows a persistent charger fault, or makes the inflator shut down despite being fully charged and cool.
Before blaming the battery, check the hose connection, air path, tire condition, pump temperature, and stated duty cycle. A leak or overheating pump can make a healthy battery appear weak.
Frequently Asked Questions
Should I charge my cordless inflator after every use?
Check the battery after every use, but it may not need charging after a brief top-up. Recharge when the indicator is low, the next task may require more energy, or the manufacturer recommends it. Let a hot battery cool before charging.
Can I leave a cordless inflator plugged in all the time?
Only do so if the exact inflator or charger manual explicitly allows continuous connection. Charger designs differ. As a general safety habit, follow the manufacturer’s instructions on removing the battery and unplugging the charger after charging is complete.
Do lithium-ion inflator batteries need to be fully discharged before charging?
Many lithium-ion tool batteries can be charged after partial use and do not need a full discharge first. However, follow the charging directions for your battery platform or built-in pack rather than applying one brand’s rule to every inflator.
How often should I check an inflator stored in my car?
A monthly readiness check is practical for an emergency inflator. Inspect the charge level, battery condition, hose, connector, and charger. Charge only when the level or manual indicates that charging is needed.
Should I fully charge my inflator before a road trip?
Confirm that it has enough charge before a road trip and top it off if the manufacturer permits. Also test that it powers on, inspect the hose, and pack the correct charger or cable so the tool is ready away from home.
Why will my cordless inflator battery not charge?
The battery may be too hot or cold, poorly seated, deeply discharged, damaged, or incompatible with the charger. Check the manual and indicator pattern. Stop if you see swelling, leakage, damage, unusual heat, odor, or a repeated fault signal.
Is it safe to charge a cordless inflator inside a vehicle?
Use only a manufacturer-approved in-vehicle charging method and remain within the stated temperature and ventilation limits. Do not improvise adapters or leave a charging battery in a hot, unattended vehicle.
Related Guides
Conclusion: How Often Should Cordless Inflators Be Charged?
How often should cordless inflators be charged? Check the charge after use, inspect a vehicle-stored unit monthly, and confirm readiness before a long trip. Recharge when the indicator is low, after a demanding inflation job, or when the manual tells you to—not automatically on an arbitrary calendar interval.
The safest routine also includes temperature and condition checks. Let a hot pack cool, use only approved charging equipment, store the tool within its stated limits, and never charge a damaged battery. If charging performance changes sharply or a fault keeps returning, contact the manufacturer or an authorized service provider.
A ready inflator is more important than a constantly charging one. Build a simple check-after-use, monthly inspection, and pre-trip routine; then let the battery indicator and your model’s manual decide when charging is actually needed.