
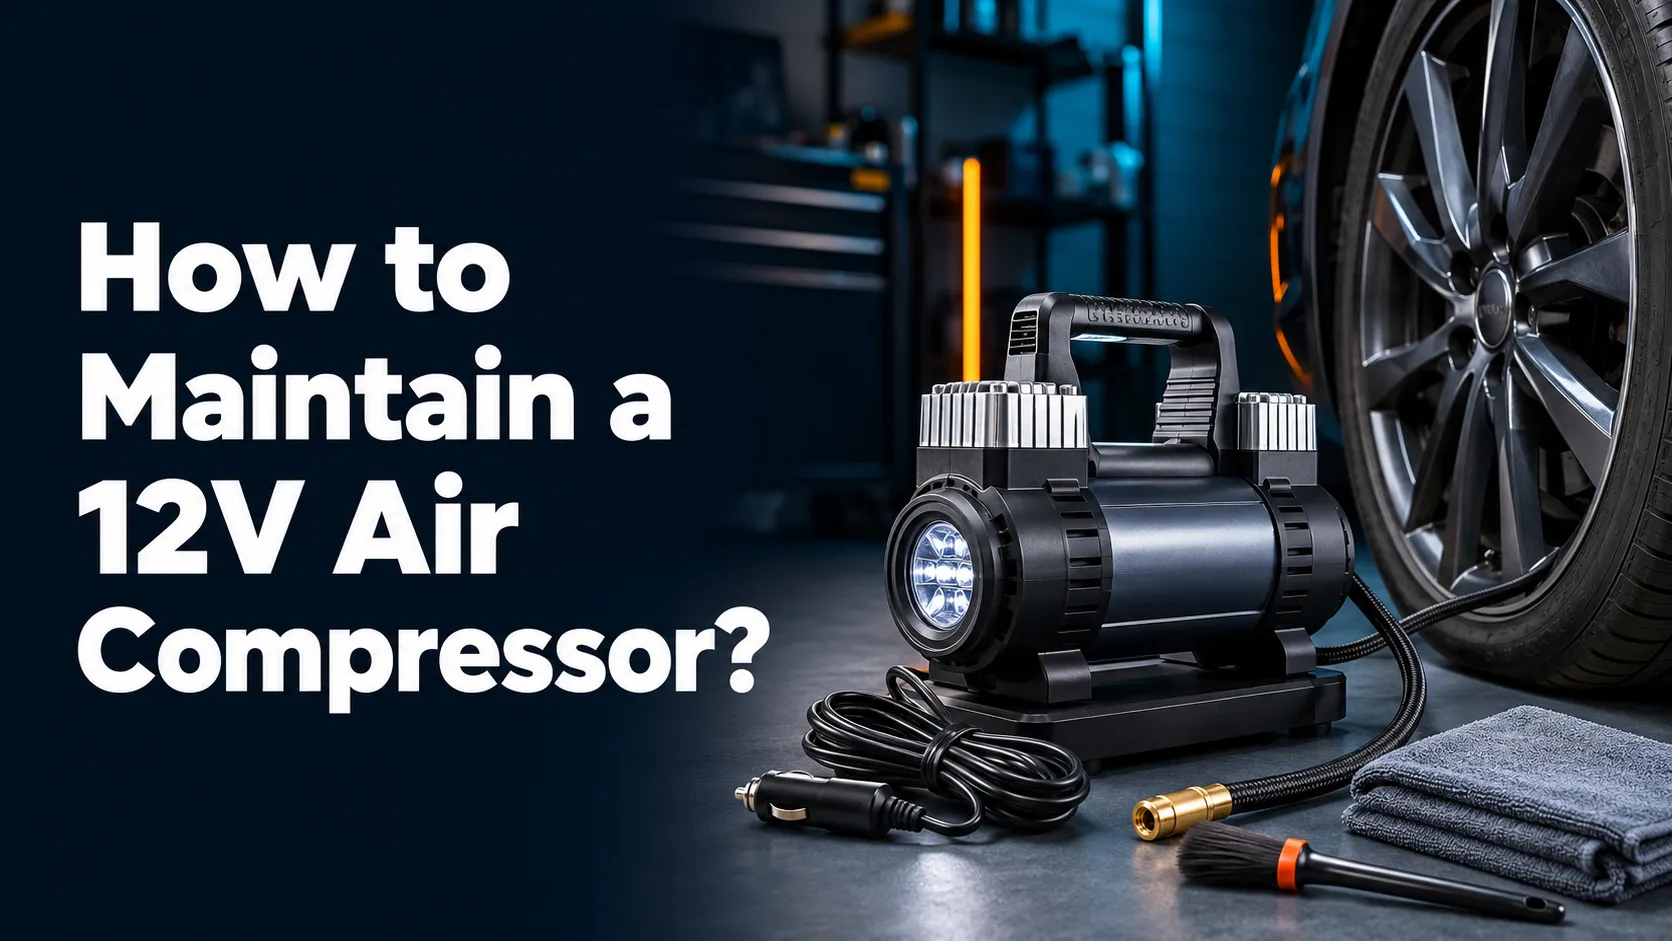
Learning how to maintain a 12V air compressor is mostly about keeping it clean, dry, cool, and protected from cord and hose damage. Inspect it before use, respect its duty cycle, and store every accessory together so the unit is ready when a tire loses pressure.
Maintenance RuleA small portable compressor usually needs less service than a shop compressor, but “maintenance-free” does not mean inspection-free. Check the plug, cable, hose, chuck, vents, gauge, fuse, and carrying case regularly.
How to Maintain a 12V Air Compressor Properly
Start with the instructions supplied for your exact compressor. Designs vary. One model may use a 12V accessory plug, another may use battery clamps, and a larger unit may have a serviceable air filter. The manufacturer’s maintenance schedule and replacement-part information take priority over general advice.
Routine care has three goals. First, it prevents avoidable damage from dirt, moisture, heat, and poor storage. Second, it helps you spot electrical or air leaks before an emergency. Third, it keeps the compressor, tire gauge, adapters, and instructions together.
Simple Maintenance Supplies
- A clean microfiber cloth and a soft detailing brush
- A dependable separate tire-pressure gauge
- The compressor manual and vehicle owner’s manual
- A small pouch for valve caps, nozzles, adapters, and approved spare fuses
- A dry carrying case or protective storage bin
- Mild soapy water for external leak checking, only when the manual permits it
Avoid soaking the housing or spraying cleaner into the vents, switch, gauge, plug, or electrical connections. Do not use petroleum solvents on rubber or plastic parts unless the manufacturer specifically approves them.
10-Step 12V Air Compressor Maintenance Routine
Disconnect and let it cool
Switch the compressor off and disconnect it using the procedure in the manual. Let the housing, hose, and fittings cool before cleaning or packing. A recently used hose or metal chuck can be hotter than it appears.
Wipe the housing
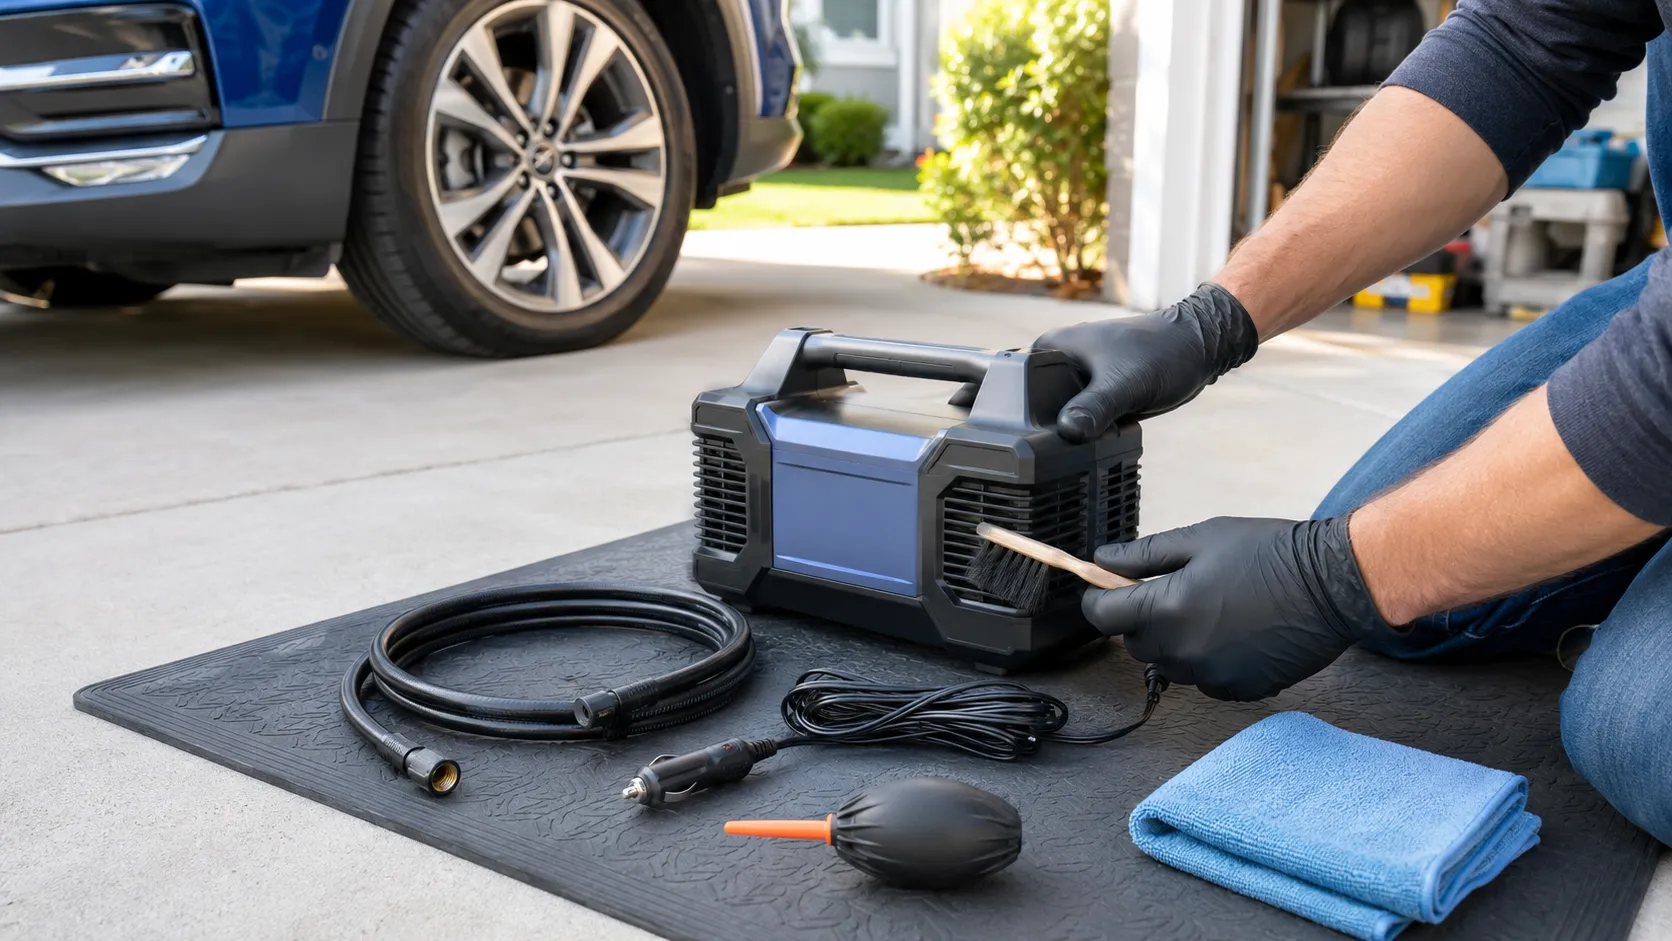
Use a dry or barely damp cloth to remove road dust and dirt. Clean debris before it reaches seams or ventilation openings. Never submerge the compressor or rinse it with a hose.
Clear the cooling vents
Use a soft brush to lift loose debris from the intake and exhaust openings. Do not push dirt deeper or insert tools through the grille. Blocked airflow can make the motor overheat sooner.
Inspect the power cord
Run your eyes and fingers along the unplugged cable. Look for crushed sections, cuts, hard kinks, exposed wire, loose strain relief, or heat discoloration. Stop using the unit if the insulation or connector is damaged.
Check the plug or clamps
Make sure a 12V plug is clean, straight, and firmly assembled. For a clamp-powered model, inspect the insulated handles, jaws, and cable joints. Corroded, loose, burnt, or melted connections require approved repair or replacement.
Examine the air hose
Look for abrasions, bubbles, cracks, flattened areas, and damage near both strain-relief points. Check that the chuck threads or locking lever move normally. Do not patch a high-pressure hose unless the manufacturer provides an approved method.
Check for an air leak
During a controlled test, listen around the hose and chuck. If allowed by the manual, a small amount of mild soapy water on an external connection can reveal growing bubbles. Keep liquid away from the housing and electronics.
Compare the pressure reading
Check a cold tire with the compressor gauge and a dependable separate gauge. Small differences can occur, but a large or changing difference means you should stop relying on the built-in display and seek calibration guidance or service.
Inventory the accessories
Confirm that the inflation needle, tapered nozzles, spare fuse, valve caps, and any special adapters are present. Remove a sports-ball needle from the hose before storing it so it cannot bend or puncture the case.
Coil and store it loosely
Follow the natural curve of the cable and hose. Avoid tight knots, sharp bends, or wrapping them around a hot housing. Place the cooled, dry compressor in its case away from moisture, direct sun, chemicals, and heavy cargo.
Recommended Inspection Schedule
| When | What to check | Why it matters |
|---|---|---|
| Before every use | Cord, plug or clamps, hose, chuck, vents, and correct power source | Find visible damage before the motor starts |
| After every use | Cooling, exterior cleaning, loose coiling, dryness, and accessory count | Prevents heat and storage damage |
| Monthly if carried in the vehicle | Case moisture, cargo damage, connector corrosion, and cable kinks | Vehicle storage can expose it to vibration and temperature swings |
| Before a long trip | Brief functional test, gauge comparison, reach to all tires, fuse and adapters | Confirms the complete setup works before an emergency |
| After unusual operation | Hot plug, odor, sparks, repeated shutdown, slow motor, or air leaks | These symptoms may require service rather than routine cleaning |
This is a practical general schedule, not a replacement for the manufacturer’s intervals. A compressor used weekly on work vehicles needs more frequent checks than one kept only for emergencies.
Protect the Motor From Heat
Every compressor has a limit on continuous operation. The manual may state a duty cycle, a maximum run time, a required cool-down period, or all three. The exact numbers vary, so do not copy the schedule from another model.
Place the compressor on a stable surface with open space around its vents. Keep it away from dry grass, loose fabric, standing water, and traffic. Do not place it inside a closed bag while running. If the motor slows, the housing becomes excessively hot, or thermal protection stops the unit, switch it off and follow the cooling instructions.
Care for the 12V Plug, Fuse, and Power Cable
Electrical maintenance should remain non-invasive unless the manual identifies a user-serviceable part. Keep the plug clean and dry. Do not sand plated contacts aggressively or spray liquid cleaner into the connector. A plug that fits loosely in the vehicle outlet can create resistance and heat.
Some compressors have a replaceable fuse inside the plug or an inline holder. Others use internal protection. If replacement is permitted, match the exact amperage, voltage class, physical size, and fuse type listed for that model. Never install a higher-rated fuse simply because the original keeps opening.
Confirm that the compressor’s current demand does not exceed the vehicle outlet’s rating. If the model uses battery clamps, follow the prescribed connection order and approved under-hood connection points. Hybrid and electric vehicles may have special low-voltage procedures, so the vehicle manual is essential.
How to Store a 12V Air Compressor
Keep it dry
Store the compressor only after it has cooled and dried. Moisture can corrode contacts, fittings, fasteners, and internal components.
Prevent crushing
Place the case where luggage, tools, or cargo cannot flatten the hose, crack the gauge, or force a sharp bend into the cable.
Avoid extreme heat
A parked vehicle can become very hot. Follow the product’s storage-temperature limits and inspect the unit more often when it lives in a trunk.
Keep the kit complete
Store the gauge, adapters, manual, gloves, flashlight, and approved spare fuse in one organized kit.
If the compressor has a built-in rechargeable backup battery, battery care adds another layer. Use the specified charger, follow the storage-charge guidance, and inspect the battery for swelling, leakage, damage, or unusual heat. Do not treat a rechargeable model exactly like a cord-only unit.
Common Maintenance Problems and Solutions
Compressor runs hotter than before
Check for blocked vents, an excessive run time, poor airflow, a leaking connection, or an unsuitable workload. Stop and cool it. Seek service if the change continues.
Pressure reading seems wrong
Compare it with a dependable gauge on a cold tire. Inspect the chuck for a poor seal. Follow the maker’s calibration or service guidance if the error remains.
Air leaks at the valve
Reconnect the chuck squarely and check its seal or locking mechanism. Replace only approved seals or hose assemblies.
Motor sounds strained
Stop rather than forcing it. High tire pressure, low supply voltage, overheating, a restricted intake, or internal wear can load the motor.
Plug becomes hot
Disconnect it. Inspect for a loose socket, dirty contact, damaged plug, or excessive current. Do not continue until the cause is resolved.
Unit will not start
Check the required ignition position, outlet rating, accessible fuse, switch, cable, and thermal reset instructions. Do not disassemble sealed components.
Safe Use Habits That Reduce Wear
- Set the parking brake and remain clear of traffic.
- Use the cold-tire PSI on the driver-door placard, not the tire sidewall maximum.
- Start or stop the vehicle engine only as both manuals direct.
- Never run a gasoline engine in a closed garage or other poorly ventilated space.
- Keep the compressor upright and its vents uncovered.
- Use only approved hoses, adapters, extensions, fuses, and power connections.
- Observe the duty cycle even when the tire is not yet full.
- Stay with the compressor while it runs and verify final pressure separately.
Frequently Asked Questions
How often should I maintain a 12V air compressor?
Inspect it before and after each use, check a vehicle-stored unit about monthly, and perform a full function test before long trips. Follow any stricter schedule in the manual.
Do I need to oil a 12V air compressor?
Most compact tire compressors are oil-free. Never add oil unless the manual for your exact model specifically requires it and explains where and how to add it.
How should I clean a portable 12V compressor?
Unplug it, let it cool, wipe the housing with a dry or barely damp cloth, and use a soft brush on external vents. Never submerge it or spray liquid into openings.
How can I tell if the compressor gauge is accurate?
Compare its reading on a cold tire with a dependable separate gauge. If the difference is large or inconsistent, follow the manufacturer’s calibration or service guidance.
Can I leave a 12V air compressor in my trunk?
Usually, if its storage-temperature limits permit it. Keep it dry, secured in a case, protected from heavy cargo, and inspect it for heat or moisture damage regularly.
Why should I let the compressor cool before storage?
Cooling protects the case and nearby items, reduces heat stress, and lets you inspect the hose and fittings safely. Follow the model’s stated cool-down time.
When should I replace or service a 12V air compressor?
Stop and seek approved service for exposed wiring, melted connectors, smoke, sparks, persistent air leaks, repeated fuse failure, severe gauge error, or unusual motor noise.
Related Guides
Conclusion
Knowing how to maintain a 12V air compressor does not require complicated mechanical work. Clean and inspect it, protect the cable and hose, keep the vents open, respect the duty cycle, compare the gauge periodically, and store the complete kit dry and secure.
The most valuable maintenance habit is noticing change. New heat, noise, odor, air leakage, inaccurate readings, or electrical trouble deserves attention before the next roadside emergency. When damage extends beyond a user-serviceable part, use manufacturer-approved service instead of opening or improvising a repair.
Inspect before use, clean and cool after use, and test before travel. Loose coiling, dry storage, clear vents, an accurate gauge check, and strict duty-cycle control will do more for everyday reliability than unnecessary disassembly.