
Learning how to charge cordless inflators correctly helps protect the battery, charger, and inflator while ensuring the tool is ready when you need to add air to a tire. Most models charge through an approved AC adapter, USB cable, charging dock, or removable power-tool battery charger.
The exact charging method varies between models, so always follow the inflator and battery manuals. Before connecting anything, confirm that the charger’s voltage, connector, and battery compatibility match the manufacturer’s requirements.
Turn the inflator off, allow a hot battery to cool, inspect the battery and charger, and connect only the manufacturer-approved charging equipment. Charge the unit in a dry, ventilated location on a stable, nonflammable surface. Disconnect it when charging is complete or when the manual directs you to do so.
A connector that fits physically is not necessarily electrically compatible with the inflator or battery.
Choose a dry, ventilated area away from direct sunlight, fuel, flammable materials, children, and pets.
Unplug the charger if you notice swelling, leaking, smoke, sparks, a strong odor, or unusual heat.
Recharge and briefly test your inflator before a road trip instead of assuming a stored battery remains full.
Understanding How Cordless Inflators Are Charged
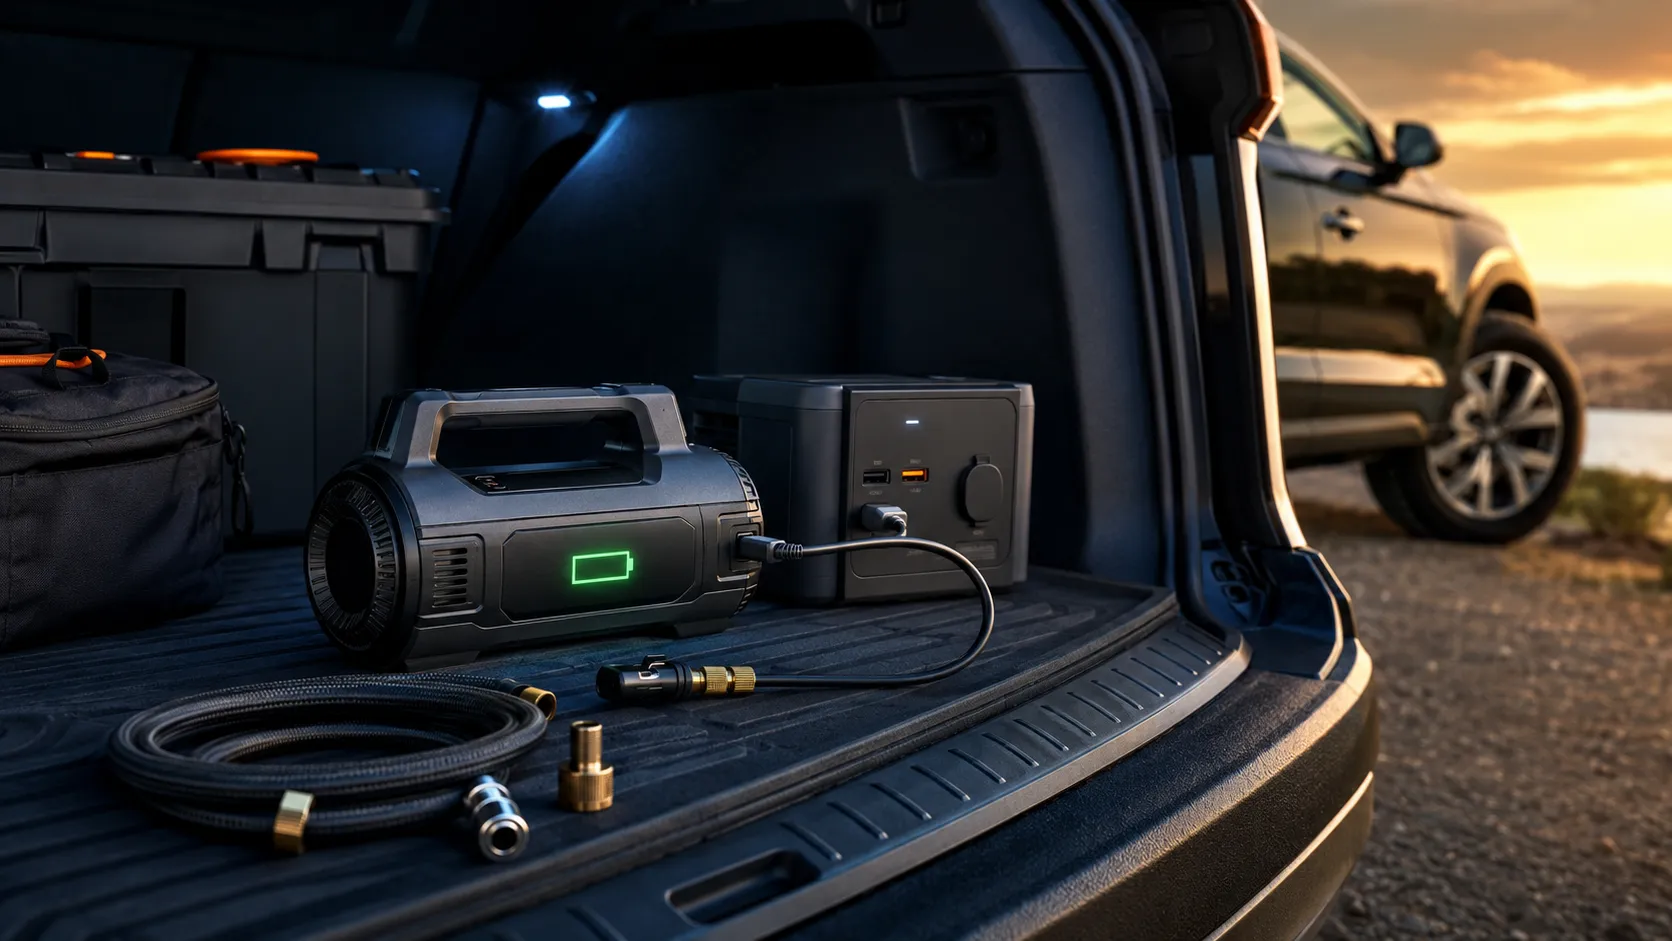
Cordless inflators are sold with several different power arrangements. Some have a sealed internal rechargeable battery, while others accept a removable lithium-ion battery. Certain hybrid models can also operate from a vehicle’s 12-volt accessory outlet or another external power source.
An inflator with a built-in battery may use a USB-C port, a barrel-style AC adapter, or a dedicated charging base. A model built around a removable power-tool battery usually requires the charger designed for that battery platform.
The presence of a USB-shaped port does not automatically mean every USB charger is suitable. Charging speed and compatibility may depend on the voltage, current, charging protocol, cable quality, and internal battery-management system.
The charging port is located on the inflator. The battery normally should not be removed or opened by the user.
The battery slides out and charges in a separate manufacturer-approved charger or dock.
The inflator uses a compatible USB cable and power source that meet the manual’s stated requirements.
The unit may support battery operation plus a vehicle or household power source, depending on the model.
What You Need Before Charging
Charging Checklist
- The cordless inflator and its instruction manual
- The correct battery, if the model uses a removable pack
- The approved charger, adapter, dock, and cable
- A properly installed electrical outlet or compatible USB power source
- A dry, stable, ventilated charging location
- A clean cloth for wiping dirt from the exterior
Do not substitute a charger merely because its plug fits. Check the charger label, battery label, and manual for the required electrical input and output. Pay special attention when replacement cables or adapters are involved.
How to Charge Cordless Inflators Step by Step
Read the charging instructions
Locate the charging section in the inflator and battery manuals. Confirm the approved charger, connection method, temperature limits, indicator-light meanings, and expected charging procedure for your specific model.
Turn off the inflator
Switch the inflator off and disconnect its air hose from the tire or inflatable item. Do not attempt to charge the unit while its compressor is operating unless the manufacturer explicitly permits that use.
Allow the battery to reach a safe temperature
If the inflator was just used, let the unit and battery cool as directed. A battery that is extremely hot or cold may charge slowly, pause charging, or be unsafe to charge outside its approved temperature range.
Inspect the equipment
Check the inflator, battery housing, charging port, cable, plug, and adapter. Do not continue if you find cracks, exposed wiring, bent contacts, corrosion, moisture, melted plastic, or other physical damage.
Prepare a safe charging area
Place the inflator or removable battery on a dry, stable, nonflammable surface with adequate ventilation. Keep it away from direct sunlight, heaters, fuel, paint, solvents, paper piles, bedding, and other easily ignited materials.
Connect the charger correctly
Insert the charging connector without forcing it. For a removable battery, seat the pack fully in its approved charger. Follow the manual’s recommended connection order if it specifies whether the device or wall outlet should be connected first.
Confirm that charging begins
Check the display or indicator light against the manual. Different models use different colors and flashing patterns, so do not assume that a red, green, or blinking light has the same meaning on every charger.
Monitor the charging process
Check the inflator periodically and keep the charging area unobstructed. Mild warmth may be normal for some models, but severe heat, swelling, smoke, sparking, or unusual odors require immediate attention.
Disconnect after charging
When the indicator confirms a full charge, disconnect the equipment according to the manual. Avoid pulling directly on the cable; hold the plug or connector body instead.
Store or test the inflator
Allow the equipment to cool if necessary, close any charging-port cover, and store the charger safely. Before a road trip, briefly run the inflator in a ventilated location to confirm that its controls, display, and motor operate normally.
How Long Does a Cordless Inflator Take to Charge?
Charging time depends on battery capacity, remaining charge, battery temperature, charger output, charging protocol, and battery condition. A small built-in battery may charge differently from a large removable power-tool battery.
Use the manufacturer’s published charging information for your exact model. Avoid estimating charging time from another inflator that looks similar because internal battery capacity and charging electronics may be different.
| Factor | Possible effect | What to do |
|---|---|---|
| Low-output power source | Charging may take longer or fail to begin | Use a power source that meets the manual’s requirements |
| Very hot battery | The protection system may delay or stop charging | Let the battery cool naturally in a safe location |
| Very cold battery | Charging may be limited or paused | Bring it within the approved charging-temperature range |
| Damaged or poor-quality cable | Charging may be intermittent or unusually slow | Use an approved, undamaged replacement cable |
| Aging battery | Runtime and usable capacity may decrease | Ask the manufacturer about approved battery service or replacement |
Charging Removable and Built-In Batteries
For a removable battery, switch off the inflator before releasing the pack. Inspect its contacts and housing, then slide it into the correct charger without forcing it. Keep loose metal objects such as keys, coins, fasteners, and tools away from exposed battery terminals.
For an inflator with a built-in battery, connect the approved cable or adapter directly to the charging port. Do not attempt to open the housing or replace sealed cells unless the manufacturer provides an authorized repair procedure.
A battery that physically slides into an inflator is not automatically approved for it. Confirm the battery platform, voltage, model compatibility, and manufacturer guidance before installation.
Can You Charge an Inflator in a Car?
Some cordless inflators can charge or operate from a vehicle’s 12-volt accessory outlet or USB port, but only when the manufacturer supports that connection. Vehicle USB ports may not provide the voltage or power required by certain inflators.
If the inflator uses a 12-volt plug, inspect the cord and plug before use. Make sure the vehicle outlet has the correct rating and follow the vehicle manual regarding accessory-outlet operation. Some outlets operate only when the ignition is in a particular position.
Avoid leaving the vehicle running in an enclosed garage or poorly ventilated space. Running an engine can produce dangerous exhaust gases, including carbon monoxide. If the vehicle must be on, move it outdoors and follow all vehicle and inflator instructions.
Common Charging Problems and Safe Solutions
Check the outlet, cable, connector, battery seating, and power-source compatibility. Review the indicator instructions in the manual.
Allow an excessively hot or cold battery to reach its approved charging range. Stop if the battery is damaged or remains unresponsive.
Inspect for loose connections, interrupted power, overheating, or a protection-system warning. Do not repeatedly reconnect a damaged battery.
Disconnect it safely and allow it to cool. Check that ventilation openings are clear and contact the manufacturer if severe heat returns.
Confirm that the adapter, cable, and outlet meet the required specifications. Low temperatures and battery age can also affect charging.
Fully charge and test the unit according to its manual. Persistent short runtime can indicate battery deterioration or another fault.
If basic checks do not solve the problem, stop using the inflator and charger. Contact the manufacturer or an approved service provider instead of opening a sealed charger or lithium-ion battery pack.
Cordless Inflator Charging Safety Rules
- Use only a charger, cable, adapter, and battery approved for the inflator.
- Read the inflator, battery, charger, and vehicle instructions.
- Charge in a dry, ventilated location on a stable surface.
- Keep the charging equipment away from rain, standing water, fuel, flames, and sparks.
- Do not cover the charger or block its ventilation openings.
- Do not force a connector or modify a plug to make it fit.
- Protect charging cords from sharp edges, hot surfaces, and moving vehicle parts.
- Keep children and pets away from the charging area.
- Do not use a swollen, leaking, cracked, punctured, or overheated battery.
- Do not open, crush, burn, or modify a sealed battery pack.
- Follow local requirements for recycling or disposing of damaged batteries.
How to Store the Inflator and Battery
Store the inflator clean, dry, and protected from impacts. Coil the charging cable loosely and avoid sharp bends near the connector. Keep adapters and removable parts together so the correct equipment is available when you need it.
Follow the manufacturer’s recommended storage charge and recharging schedule. Some batteries should not remain completely discharged for long periods, while long-term storage at a continuous full charge may not be recommended for other models.
Vehicle interiors can become extremely hot or cold. Compare the expected temperature inside your vehicle with the storage limits listed for the inflator and battery. Move the equipment indoors when conditions could exceed those limits.
Frequently Asked Questions
How do you charge a cordless inflator?
Turn it off, inspect the battery and charger, and connect the manufacturer-approved charging equipment in a dry, ventilated area. Follow the indicator instructions and disconnect it when charging is complete.
Can I use any USB charger for my cordless inflator?
No. Use a USB cable and power adapter that meet the voltage, current, connector, and charging-protocol requirements stated by the inflator manufacturer.
How long should a cordless inflator take to charge?
Charging time varies with battery capacity, remaining charge, temperature, charger output, and battery condition. Check the manual for the expected charging time of your exact model.
Can I charge a cordless inflator in my car?
Only if the inflator supports charging from the vehicle’s outlet or USB port. Confirm the required power input and follow both the inflator and vehicle manuals.
Why is my cordless inflator not charging?
Possible causes include an incompatible power source, loose connection, damaged cable, battery-temperature protection, battery deterioration, or a charger fault. Stop using damaged equipment.
Should I leave my cordless inflator plugged in overnight?
Follow the manufacturer’s instructions. Unless the manual specifically supports extended connection, disconnect the charger after charging is complete and avoid leaving it charging unattended.
When should I replace the inflator battery?
Seek an approved replacement if the battery is damaged, swollen, leaking, overheating, failing to charge, or providing unusually short runtime after correct charging.
Final Thoughts on How to Charge Cordless Inflators
Understanding how to charge cordless inflators safely starts with using the correct battery and charging equipment. Turn the unit off, inspect it for damage, allow it to reach an acceptable temperature, and charge it in a dry, ventilated location.
Check the battery before road trips and follow the manufacturer’s storage schedule. If a battery becomes swollen, leaks, overheats, produces smoke, or refuses to charge correctly, stop using it and contact the manufacturer or an approved service provider.
Use only manufacturer-approved charging equipment, follow the model-specific manual, and never charge a damaged or abnormally hot battery. Recharge and test your inflator before you need it in an emergency.