
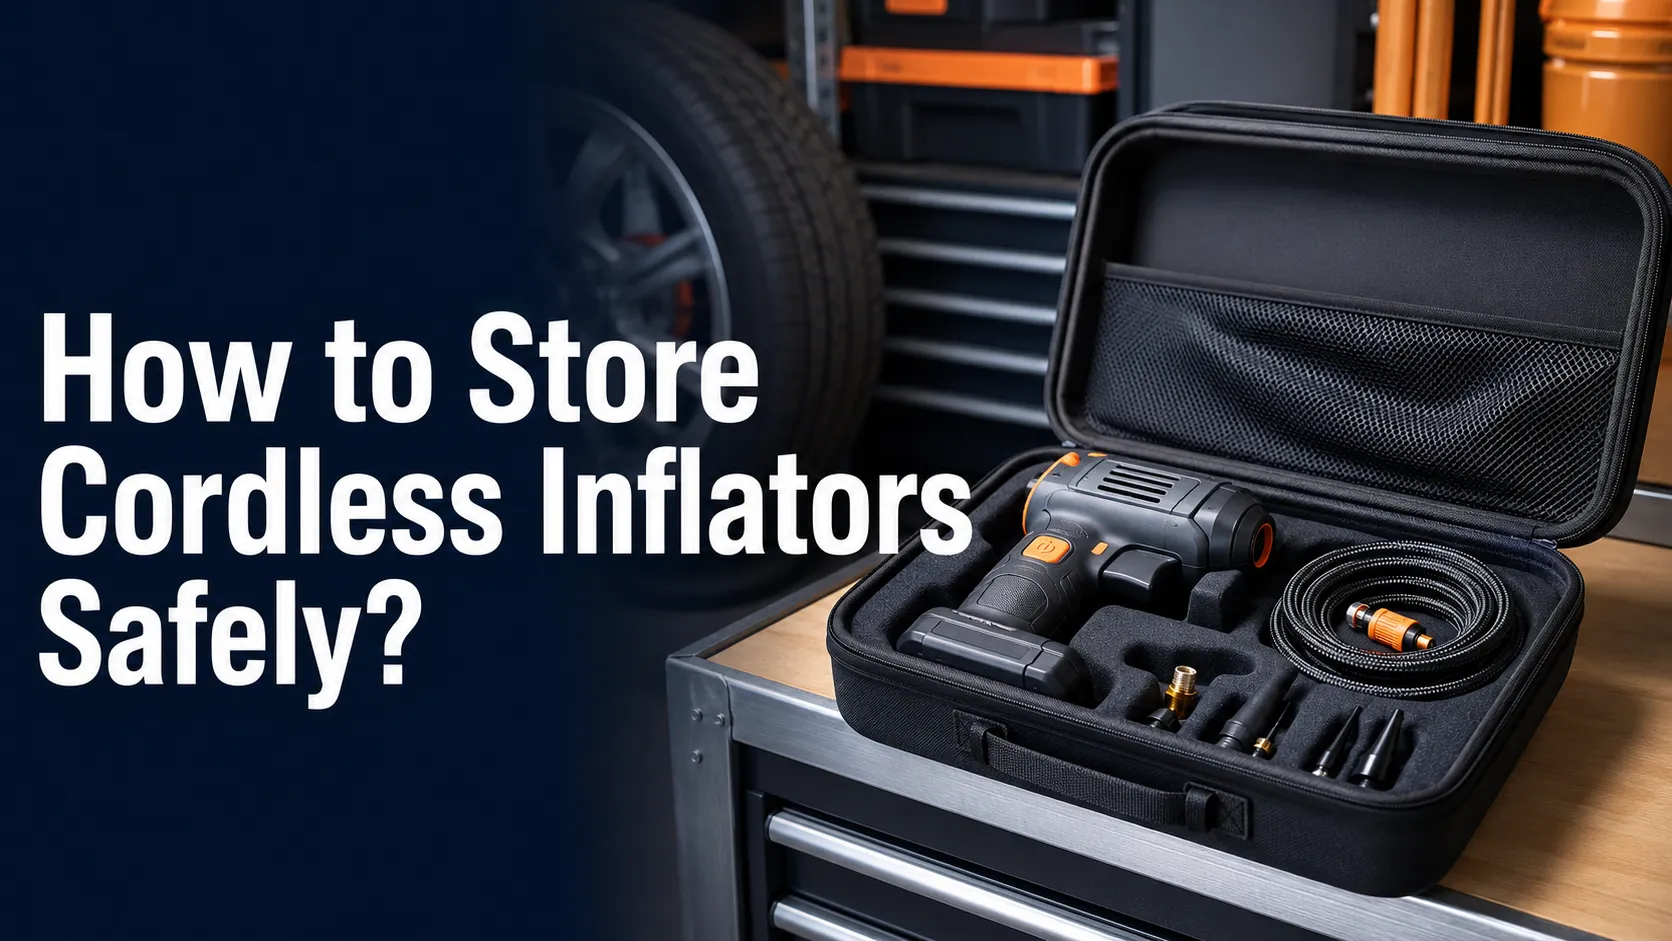
Knowing how to store cordless inflators safely helps protect the battery, air hose, charging equipment, and internal compressor while keeping the tool ready for a roadside emergency. The best approach is to switch the inflator off, let it cool, clean and inspect it, and place it in a dry, temperature-controlled location where it cannot be crushed, dropped, or exposed to moisture.
Storage requirements vary by model and battery type. Always follow the inflator, charger, battery, tire, and vehicle manuals when their instructions differ from general guidance. Pay particular attention to the manufacturer’s approved storage-temperature range and long-term battery recommendations.
Store a cordless inflator turned off and disconnected from its charger in a clean, dry, ventilated location. Allow it to cool after use, inspect it for damage, protect the hose and cables from sharp bends, and follow the manufacturer’s recommended battery charge level and temperature range. Avoid leaving it indefinitely in a vehicle exposed to extreme heat or cold.
Extreme heat or cold can affect battery condition, charging behavior, plastic parts, seals, displays, and overall performance.
Protect the inflator, charging port, battery terminals, adapter, and cables from rain, condensation, standing water, and high humidity.
Use the storage charge level and recharging schedule recommended for your model rather than relying on a universal percentage.
Store the unit where heavy cargo, tools, seat mechanisms, or moving vehicle parts cannot crush or puncture it.
Why Proper Cordless Inflator Storage Matters
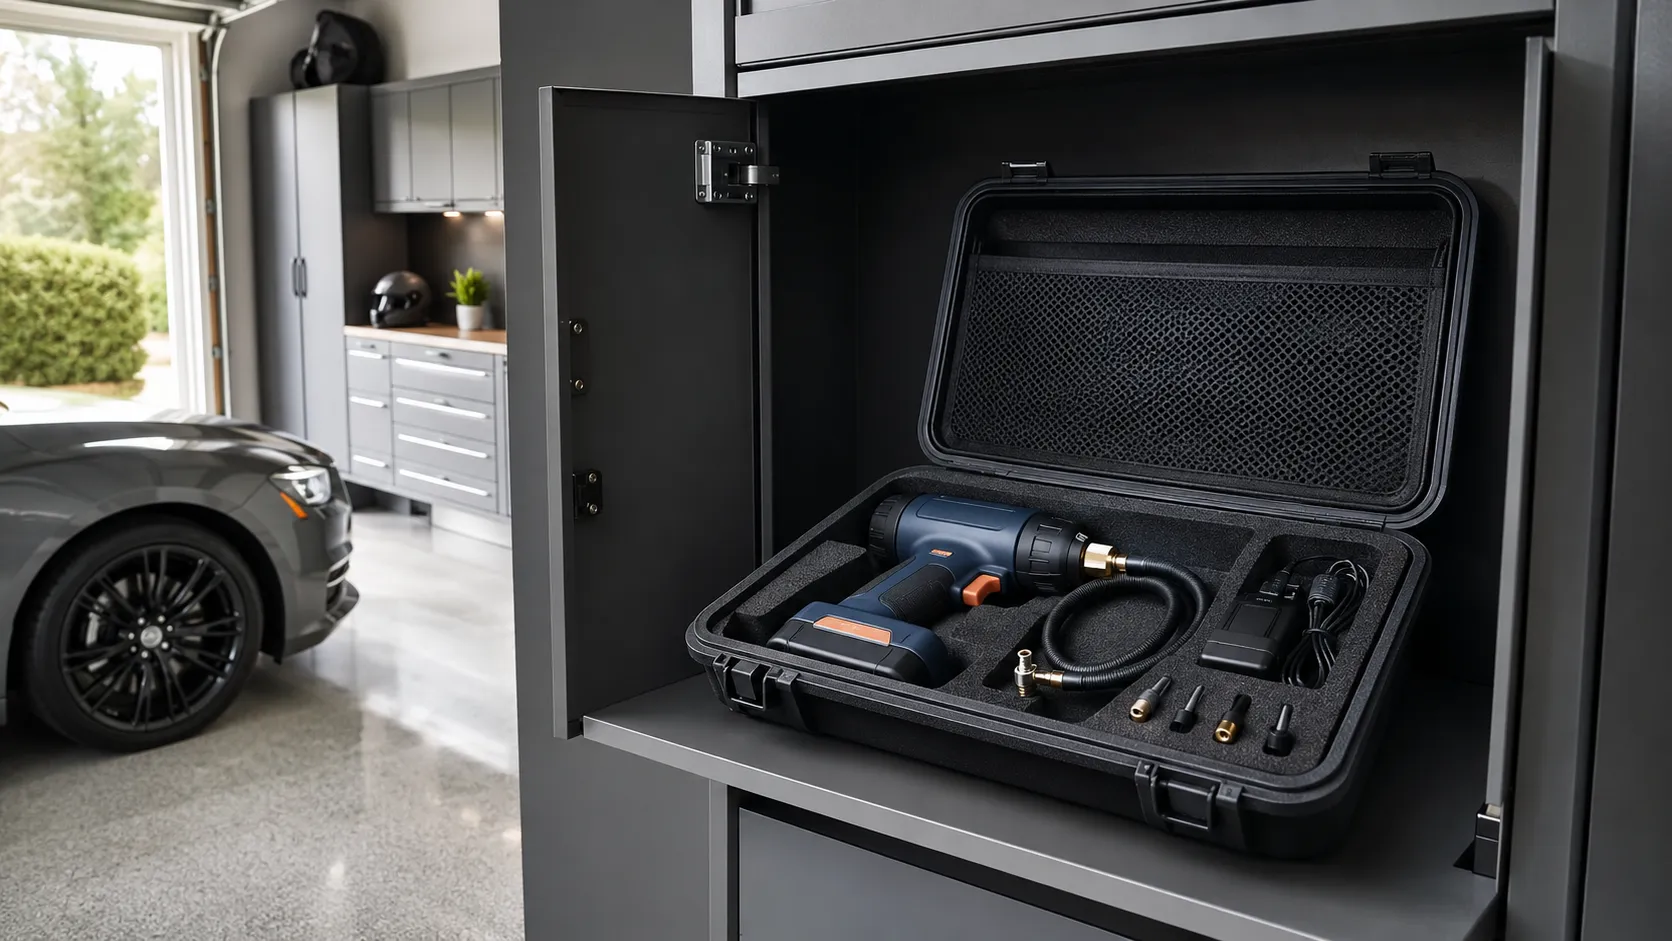
A cordless inflator may spend weeks or months waiting for its next use. During that time, excessive heat, deep discharge, moisture, dust, corrosion, and physical impacts can reduce its reliability. Poor storage can also damage the air hose, connector, charging cable, or removable battery contacts.
The battery deserves special attention. Most modern cordless inflators use rechargeable lithium-ion batteries, either inside the unit or in a removable pack. These batteries include protective electronics, but they still need to be stored within the conditions specified by the manufacturer.
Correct storage does not guarantee that an inflator will never fail. Batteries naturally age, and mechanical or electrical faults can still develop. However, appropriate storage reduces avoidable stress and gives you a better chance of finding the inflator operational when a tire needs air.
Choose the Right Storage Location
A suitable storage location is clean, dry, stable, ventilated, and protected from significant temperature swings. An indoor utility closet, temperature-controlled garage cabinet, or sturdy shelf can work when it meets the product manual’s requirements.
Do not place the inflator beside fuel, paint thinner, solvents, open flames, heaters, or equipment that creates sparks. Keep it away from children and pets, and avoid shelves where the unit could fall onto a person or vehicle.
Often provides stable conditions, but the inflator should still be kept away from clothing, paper, heat sources, and direct sunlight.
Can protect the tool from impacts and dust, provided the garage remains within the manufacturer’s temperature and humidity limits.
Convenient for emergencies, but interior temperatures can become unsuitable during hot summers or freezing winters.
May expose the tool to moisture, condensation, flooding, pests, or severe temperatures unless the space is properly controlled.
What to Do Before Storing an Inflator
Storage Preparation Checklist
- The cordless inflator and its instruction manual
- The manufacturer-approved charger, adapter, and cable
- The correct removable battery, when applicable
- A clean, dry cloth or soft brush
- The original case or a protective storage bag
- A dry and stable storage location
- A reminder for periodic battery and condition checks
Let the inflator cool naturally before putting it into a case or enclosed cabinet. A compressor and battery may remain warm after use, especially following inflation of a large tire or several tires in succession.
Remove loose dirt from the housing, controls, hose, connectors, and ventilation openings. Do not immerse the inflator in water or apply a cleaning product unless the manufacturer permits it. Moisture entering the housing or charging port can create corrosion and electrical problems.
How to Store Cordless Inflators Safely Step by Step
Switch off and disconnect the inflator
Turn the inflator off, disconnect it from the tire, and unplug any vehicle or household power connection. Disconnect the charger after charging is complete unless the manufacturer specifically permits continued connection.
Allow the unit to cool
Place the inflator in a safe, ventilated area and wait until the compressor, housing, hose, and battery have cooled. Do not seal a hot unit inside a tightly packed case.
Clean the exterior
Wipe away dust, road grime, and moisture with a clean, dry cloth. Use a soft brush around exterior ventilation openings if the manual allows it, but do not push debris farther into the housing.
Inspect for damage
Check the housing, air hose, tire connector, pressure gauge or display, charging port, cable, adapter, battery casing, and terminals. Stop using the equipment if you find cracking, exposed wiring, melted plastic, leakage, corrosion, swelling, or burn marks.
Set the proper battery condition
Follow the manufacturer’s guidance for the recommended charge level before short- or long-term storage. Do not assume every lithium-ion battery should be stored at exactly the same percentage.
Protect the hose and cables
Coil the hose and charging cable loosely, using any built-in storage channels or retainers. Avoid tight bends, knots, crushing, or pulling at the points where the hose and cable enter their connectors.
Secure removable parts
Store valve adapters, inflation needles, cables, and connectors in their designated compartments or a small labeled pouch. Keep metal objects away from exposed battery terminals.
Place it in a protective case
Use the original case or another suitable container that protects the unit from dust and impact without trapping moisture. Do not pack the inflator underneath heavy tools or cargo.
Choose a stable storage position
Place the case on a secure shelf, inside a cabinet, or in a restrained vehicle compartment. Make sure it cannot slide into pedals, seat tracks, doors, or other moving parts.
Schedule periodic inspections
Check the inflator and battery at the interval recommended by the manufacturer. Recharge when instructed, inspect for damage, and briefly confirm normal operation before road trips or severe-weather travel.
Cordless Inflator Storage Location Comparison
| Storage location | Main advantage | Possible concern | Best practice |
|---|---|---|---|
| Indoor closet | More stable temperature | Inflator may not be inside the vehicle when needed | Store it in a labeled case and move it to the vehicle before trips |
| Temperature-controlled garage | Convenient access near the vehicle | Dust, moisture, or impact from tools | Use a closed cabinet or protective case on a secure shelf |
| Vehicle trunk or cargo area | Available during roadside emergencies | Extreme heat, freezing temperatures, and shifting cargo | Monitor weather, secure the case, and bring it indoors when needed |
| Basement | Often protected from direct sunlight | Humidity, condensation, or flooding | Use only a dry area above floor level and within approved conditions |
| Outdoor shed | Frees indoor storage space | Large temperature swings, moisture, and pests | Avoid unless the shed consistently meets all storage requirements |
How to Store the Battery and Charger
Some cordless inflators have a built-in battery, while others use a removable power-tool battery. With a removable pack, follow the battery manufacturer’s instructions regarding whether it should remain installed during storage.
If the battery is removed, keep it in a clean and dry location where its terminals cannot contact keys, coins, fasteners, tools, or other conductive objects. Do not place loose batteries in a drawer or toolbox with metal items.
Store the charger unplugged unless its manual says otherwise. Coil its cable loosely, protect the plug and connector from impact, and keep the ventilation openings clear. A charger should not be stored in a wet area or left hanging by its power cord.
There is no single storage-charge percentage or recharging schedule that applies to every cordless inflator. Use the guidance supplied for your exact inflator, battery, and charger.
Can You Keep a Cordless Inflator in Your Car?
Keeping an inflator in a vehicle is convenient, but it is not always the best year-round storage choice. A parked vehicle can experience temperatures far above or below the surrounding air, particularly in direct sunlight or severe winter weather.
Compare local conditions with the storage limits printed in the inflator and battery manuals. If temperatures may exceed those limits, move the unit indoors and place it back in the vehicle before travel. The same precaution applies if flooding, water leaks, or persistent condensation are possible.
If you keep the inflator in a trunk or cargo area, secure it in a designated compartment or with an appropriate cargo restraint. It should not be able to slide, strike other equipment, or become crushed beneath luggage, a spare tire, or heavy tools.
Long-Term and Seasonal Storage
Long-term storage requires more than putting the inflator on a shelf. First, clean and inspect the unit, then prepare the battery according to its manual. Record the storage date and schedule future inspections so the battery is not forgotten for months.
During storage, look for corrosion, moisture, cracked plastic, pests, damaged cables, battery swelling, or unusual odors. If the unit has become wet, do not connect it to a charger or power source until you have followed the manufacturer’s guidance.
Before returning the inflator to regular use, examine the air hose and connector, charge it with approved equipment, and test it in a safe, ventilated area. Compare its pressure reading with a reliable tire-pressure gauge before depending on it for routine adjustments.
| Storage task | Before storage | During storage | Before reuse |
|---|---|---|---|
| Battery | Prepare it according to the manual | Check or recharge at the specified interval | Inspect and charge with approved equipment |
| Air hose | Clean and coil it loosely | Check for crushing or cracking | Inspect the hose and tire connector |
| Housing | Remove dirt and moisture | Look for impacts, corrosion, or swelling | Confirm that controls and vents are undamaged |
| Accessories | Organize them in the case | Keep them dry and secure | Confirm that required adapters are present |
| Operation | Switch the unit off | Do not operate it unnecessarily | Perform a brief functional check |
Common Storage Problems and Solutions
Recharge it with the approved charger and follow the manual. Persistent rapid discharge or unusually short runtime may require manufacturer-approved service or replacement.
Remove the inflator from the damp area without connecting power. Follow the manufacturer’s drying and inspection guidance before charging or operating it.
Inspect it for cracking, flattening, leakage, or connector damage. Do not use a damaged pressure hose; contact the manufacturer about an approved replacement.
Do not scrape, short, or modify the terminals. Stop using the battery and ask the manufacturer or an authorized service provider for guidance.
Check the battery charge and installation according to the manual. If approved charging does not solve the issue, discontinue use and seek qualified service.
Move away from possible danger and do not charge or operate the unit. Odor, heat, leaking, smoke, or swelling can indicate serious battery damage.
Do not open a sealed inflator, charger, or battery pack to diagnose an internal problem unless the manufacturer provides an authorized user-service procedure. Improvised repairs can damage protective systems and create electrical, fire, or pressure-related hazards.
Cordless Inflator Storage Safety Rules
- Turn the inflator off and disconnect all power sources before storage.
- Allow the compressor and battery to cool after use.
- Follow the manufacturer’s storage-temperature and battery-charge guidance.
- Keep the inflator, charger, and battery dry.
- Protect the unit from direct sunlight, heaters, flames, fuel, and sparks.
- Keep loose metal objects away from battery terminals.
- Do not store a battery that is swollen, leaking, cracked, punctured, or unusually hot.
- Avoid sharply bending, crushing, or stretching the air hose and charging cables.
- Secure the case so it cannot move around inside the vehicle.
- Keep the equipment away from children and pets.
- Check the inflator periodically and before every important trip.
- Use only manufacturer-approved chargers, batteries, parts, and service procedures.
Frequently Asked Questions
What is the safest place to store a cordless inflator?
Store it in a clean, dry, ventilated, temperature-controlled location where it is protected from impacts, moisture, direct sunlight, flames, and unauthorized access. Follow the storage limits in the product manual.
Can I leave a cordless inflator in my car?
You can keep it in a vehicle only when interior temperatures and conditions remain within the manufacturer’s storage limits. Secure the case and move it indoors during extreme heat or cold.
Should a cordless inflator be fully charged before storage?
Follow the instructions for your specific inflator and battery. Recommended charge levels and recharging schedules vary, so a universal storage percentage should not be assumed.
Should I remove the battery during storage?
Remove a detachable battery only when the manufacturer recommends it. If removed, protect its terminals from metal objects and store it within the approved temperature and humidity range.
How often should I check a stored cordless inflator?
Use the inspection and charging interval specified by the manufacturer. Also check and test the inflator before road trips, seasonal weather changes, and other times when dependable operation is important.
Can I store a cordless inflator in an outdoor shed?
Only if the shed remains dry, secure, and within the manufacturer’s storage-temperature and humidity limits. Many sheds experience extreme temperatures and moisture, making indoor storage safer.
What should I do if the battery swells during storage?
Do not charge, operate, puncture, or open it. Keep away from immediate danger and follow the manufacturer’s instructions for handling and disposal. Contact emergency services if it is smoking, burning, or creating an immediate hazard.
Final Thoughts on How to Store Cordless Inflators Safely
Learning how to store cordless inflators safely comes down to controlling temperature and moisture, protecting the battery, preventing physical damage, and checking the tool periodically. Turn the inflator off, allow it to cool, clean and inspect it, and store the hose and cables without sharp bends.
Always prioritize the instructions supplied with your exact inflator, battery, and charger. If you find swelling, leaking, smoke, unusual heat, severe corrosion, exposed wiring, or impact damage, stop using the equipment and contact the manufacturer or an approved service provider.
Store your cordless inflator clean, dry, switched off, and protected from extreme temperatures and impacts. Follow the manufacturer’s battery-storage schedule, and charge and test the unit before relying on it during a roadside emergency.