
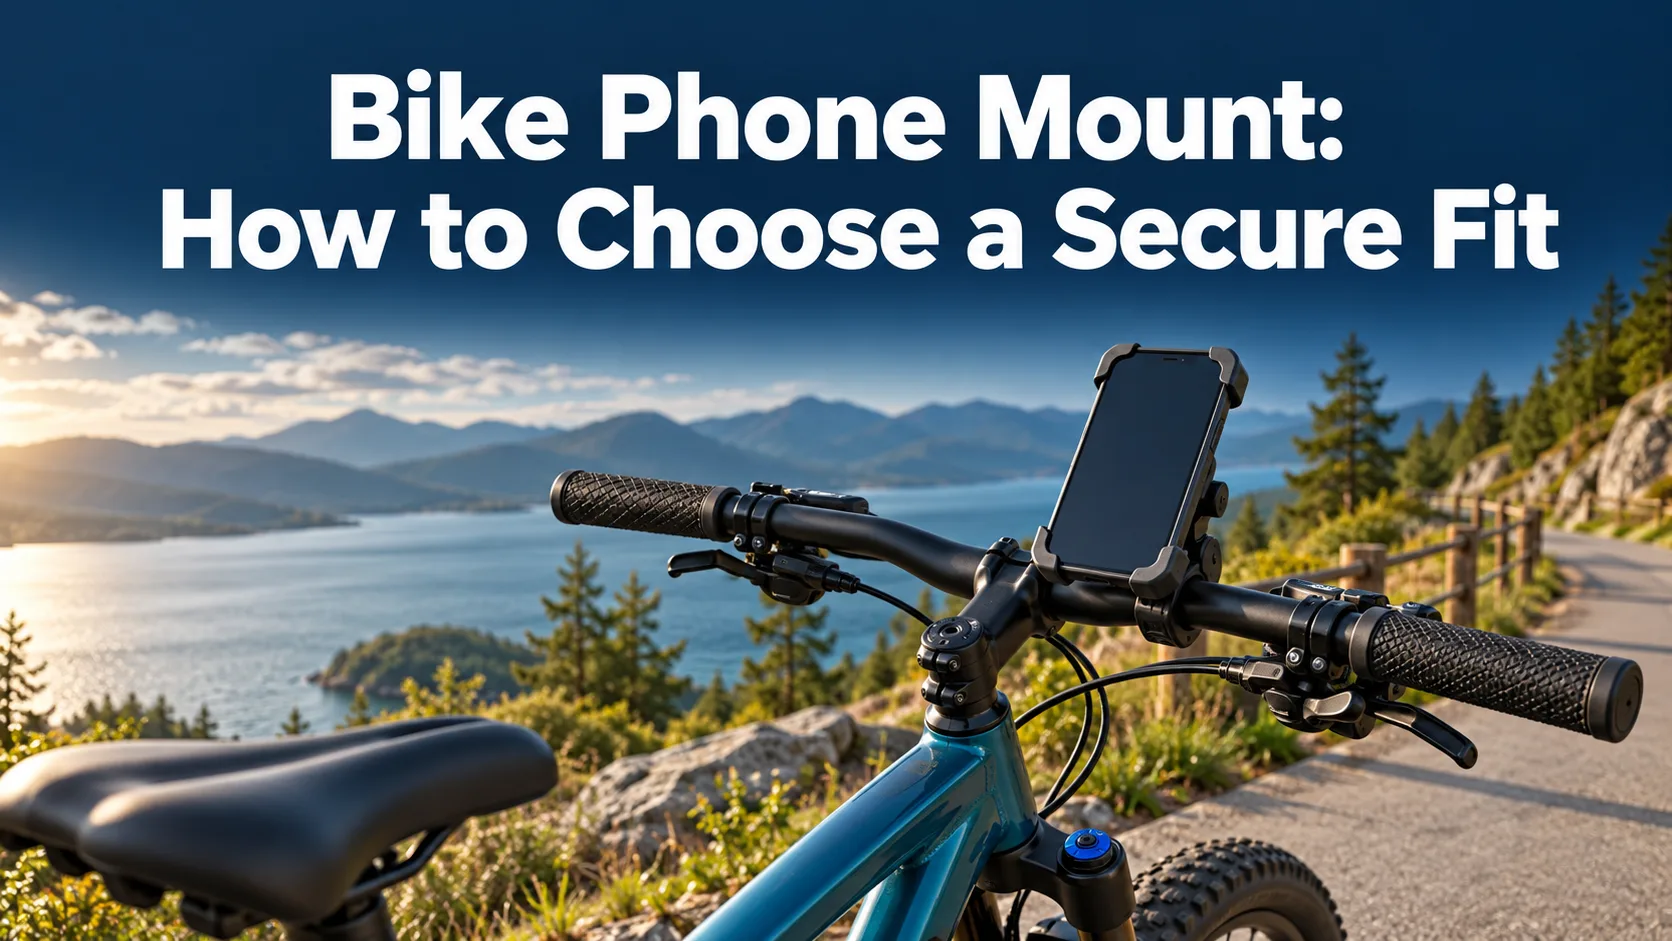
A bike phone mount should fit your bicycle, your phone, and the way you ride. A holder that grips a bare phone in a product photo may behave differently with your case, camera bump, handlebar shape, and crowded cockpit. Check those details before choosing by appearance or a long compatibility list.
This guide focuses on bicycles and ordinary cycling preparation. Retailers also use bike to mean motorcycle, so do not treat the two applications as equivalent. We compare buying routes and two Lamicall examples without claiming hands-on testing, crash protection, waterproofing, or a guarantee against phone damage.
Quick answer: check both ends of the fit
Measure the handlebar at the mounting position and the phone with its real case. Match both to the exact holder instructions. Keep steering, brakes, cables, and controls clear. Set navigation before riding.
Affiliate disclosure: As an Amazon Associate I earn from qualifying purchases. We may earn a commission through the links below, at no additional cost to you.
View Lamicall bike holder details on AmazonFirst decide what bike means for your purchase
A bicycle, an e-bike, and a motorcycle create different installation and use questions. A shared listing can mention all three, but that wording does not make every mount suitable for every machine, route, and phone. Read the instructions for the actual product and your vehicle.
This article treats a bicycle cockpit as the starting point. For motorcycles, follow motorcycle-specific mounting guidance and phone-manufacturer vibration warnings. Do not transfer a bicycle recommendation to a high-powered motorcycle simply because the clamp can be made to fit.
For an e-bike, check that the mount does not interfere with the display, control buttons, wiring, or brake operation. Available handlebar space can be more important than the phone size in a product title.
If you use more than one bicycle, measure both. Moving one holder between them may be convenient, but only if its documented mounting method supports both locations and you can repeat the installation correctly.
Measure the handlebar where the clamp will sit
Measure the intended contact area, not a different part of the bar. Some handlebars change diameter near the stem, and some have shapes that do not match a standard round clamp. An accessory that fits near a grip may not fit near the center.
Check the holder’s range and the permitted use of supplied shims. Shims are part of a mounting system, not an invitation to improvise extra padding. Use the specified parts and method rather than tightening harder to compensate for a mismatch.
If the bicycle has carbon components, unusual integrated bars, or an uncertain clamping limit, consult the bicycle maker or a qualified shop. Do not guess a torque value or clamp location. This guide does not provide a universal mounting torque.
Look at the full steering range while the bicycle is stationary. The phone, mount, and any cable must remain clear of the frame and controls. A cockpit that looks neat with the wheel straight may reveal a conflict when the bar turns.
Measure the phone with its real case
A screen-size range is only an initial filter. Compare the holder’s actual width, thickness, and shape requirements with the phone-and-case combination. Thick corners, a rear wallet, a ring, or a camera protector can change the contact points.
Check whether the jaws press a side button or cover a speaker, camera, or charging port. A phone that is technically within a size range may still be awkward in a particular holder. Do this check before deciding the fit is acceptable.
If you regularly change cases, repeat the fit assessment after every change. Do not assume the same adjustment is correct for a thin case and a rugged case with another layer.
For a shared household bicycle, list the phones that will use the mount. An adjustable holder may help, but convenience depends on whether each person can set and lock it correctly. Choose an arrangement the actual users understand.
| Approach | Useful reason to compare | Important check |
|---|---|---|
| Adjustable clamp | Keep a compatible existing case | Jaw contact, dimensions, locking steps |
| Dedicated case system | Matching mount and phone interface | Exact case and mount compatibility |
| Central placement | Another cockpit arrangement | Controls, cables, viewing position |
| Stored phone | Avoid an unsuitable exposed installation | Alternative navigation plan |
Two adjustable-holder examples
These are two separate Lamicall listings to inspect. We have not established a tested retention or vibration advantage between them. Check the selected variant, documented dimensions, and included hardware.

Lamicall B08R8MZYMH
The listing describes a lockable, rotating handlebar holder with a stated 4.7–6.8-inch screen-size range. Consider it as a clamp-style option; screen size alone does not confirm case thickness or bar fit.
Check Lamicall B08R8MZYMH on Amazon
Lamicall B085DMV7XD
Compare this alternate Lamicall holder layout against your phone and cockpit. Confirm current instructions and the selected style. We do not claim a tested strength or camera-protection benefit over the first option.
Check Lamicall B085DMV7XD on Amazon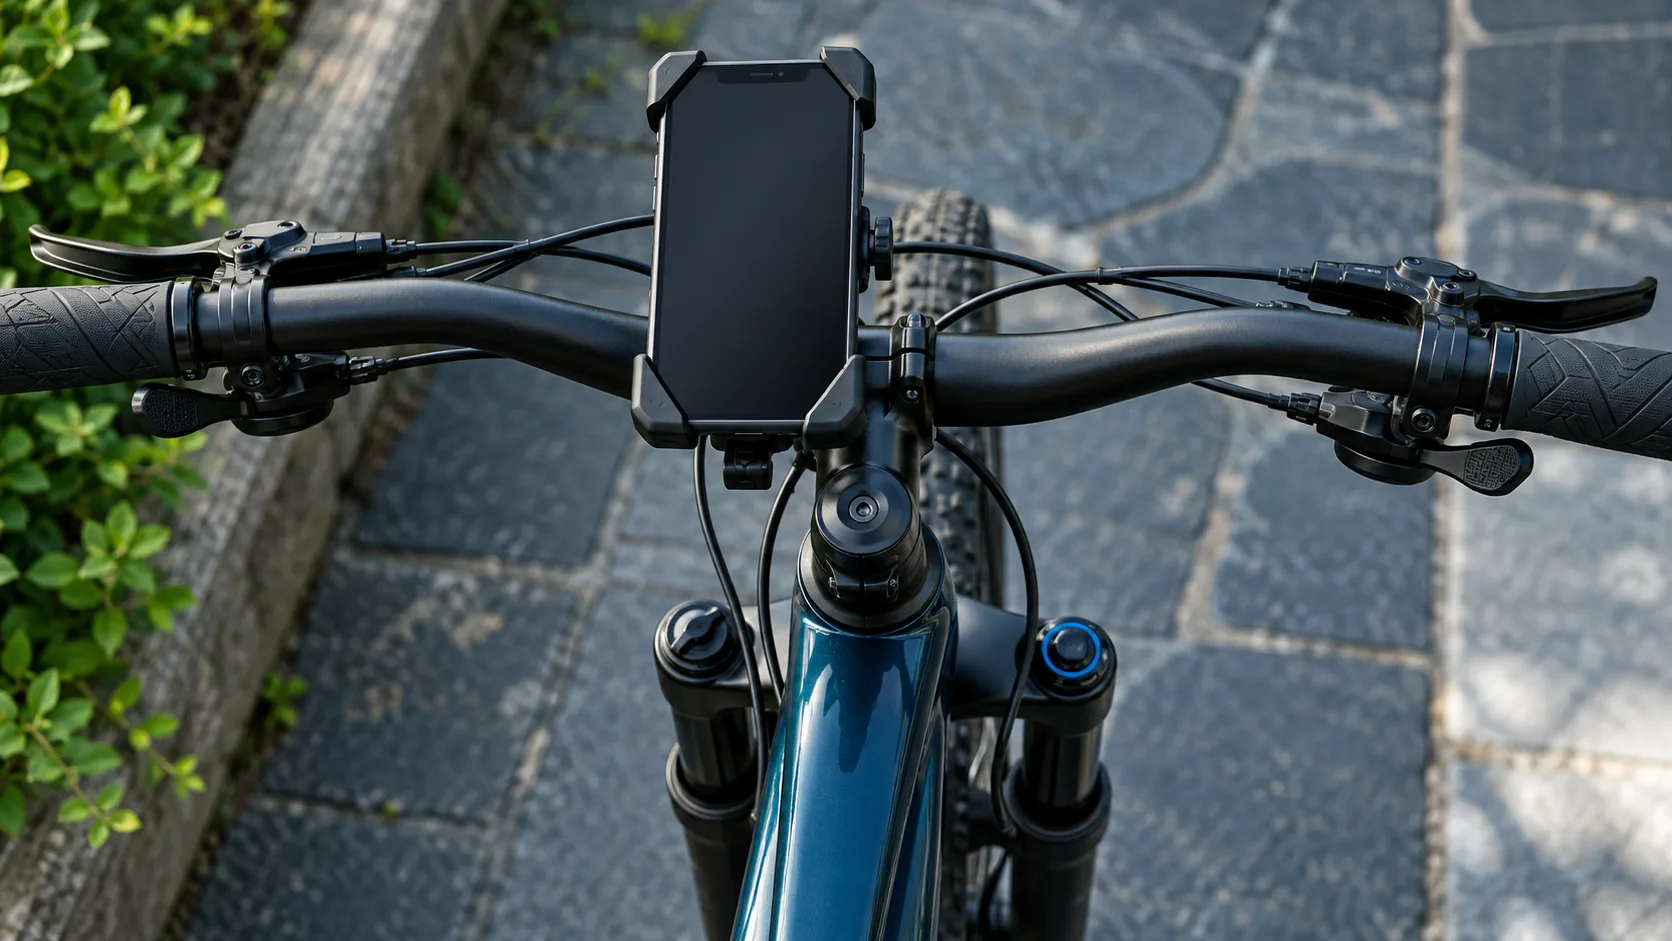
Would a dedicated case system suit you?
Some bicycle mounting systems use a matching case or adapter instead of gripping an ordinary case with jaws. Compare the Quad Lock Handlebar/Stem Mount as one manufacturer-supported route. Verify the exact compatible case, mount, and included hardware before buying.
Think about your routine rather than treating a system name as a safety guarantee. Do you remove the phone at every stop? Do you want to keep the same case off the bicycle? Will other family members use the holder? Those questions affect convenience and total cost.
Avoid combining parts from different systems unless the manufacturers explicitly support the combination. Similar-looking tabs, magnets, or adapters do not prove compatibility.
If your current holder fits correctly and works within its instructions, there may be no reason to replace it. A new system should solve a specific problem, such as repeated case interference or an unsuitable mounting position.
Retention is a sequence, not a product adjective
Learn the mounting and release steps while the bicycle is stationary. Check how the holder indicates that it is fully engaged and whether a secondary lock or retention component is required. Follow that sequence every time, including short rides.
Check the holder again after reinstalling it or changing the phone case. Do not rely on the feel of a spring alone if the product has another locking step. Keep the release mechanism accessible without creating interference with normal controls.
A gentle stationary fit check is useful, but it is not a crash test and does not prove performance on every surface. Do not conduct improvised high-speed or destructive tests with your phone.
Stop using a mount if its clamp, lock, straps, or contact surfaces are damaged or no longer function as specified. Contact the manufacturer for the right replacement parts rather than improvising a repair.
Vibration and camera damage need separate attention
Apple warns that certain high-amplitude motorcycle-engine vibrations can affect iPhone camera systems. Its camera-vibration guidance does not establish that every bicycle mount or advertised shockproof holder prevents damage. Read the phone maker’s advice for your intended use.
We do not interpret soft pads or rubber contact points as a validated camera-protection system. Ask for specific compatibility and test information if camera protection is a deciding factor. Retaining the phone and protecting its internal camera hardware are different questions.
Do not use this bicycle guide as approval for a high-powered motorcycle installation. Motorcycle use requires its own assessment, including the warnings issued by the phone manufacturer.
If repeated vibration exposure is a concern, consider another navigation arrangement. A dedicated cycling device or a safely stored phone may better match your priorities, depending on the trip. No purchase in this guide is presented as a guarantee against vibration-related damage.
Set up navigation before you move
Choose the route and display settings before riding. Stop in a safe place before changing the destination, answering a message, or adjusting the holder. A visible screen does not make interacting with it while moving a sensible habit.
Keep the display position compatible with normal control of the bicycle. Do not sacrifice brake access or a clear view of the route just to make the screen easier to touch. Consider your normal riding posture during the stationary assessment.
If you add a charging cable, check its route through the full steering range while stationary. Follow the phone, charger, and bicycle instructions. Avoid a cable path that can catch, pull a connector, or restrict movement.
Plan phone power and weather protection separately from retention. A holder is not automatically a charger or waterproof enclosure. Read the limits of the phone, case, and accessory rather than assuming the mount provides those functions.
A useful pre-ride checklist
Confirm the clamp and phone fit, check complete engagement, verify that controls and cables remain clear, and inspect for visible damage. Repeat the relevant checks after an adjustment, a phone change, or a change of case.
Check that you can remove and secure the phone correctly at a stop. Practice the release with the bicycle stable so you do not have to learn a new mechanism while balancing the bike in an awkward location.
For a trip combining driving and cycling, keep transport and riding arrangements separate unless their makers specifically support shared parts. Remove equipment when required by the bicycle carrier or accessory instructions. Check that transport straps do not press on the holder.
Our road-trip cooler guide uses the same measure-first approach for cargo. In both purchases, correct fit and an ordinary daily routine matter more than an impressive list of headline features.
Compare the complete purchase
Add any required case, adapter, shim, or hardware to your comparison. Do not compare a bare mount with a complete kit as though the packages contain the same items. Check which version is actually selected at the retailer.
Review current return terms before buying if you cannot inspect the fit in person. Keep the packaging until you have completed a stationary assessment within the permitted return conditions. Do not rely on an old price or a discount mentioned elsewhere.
A lower price is not useful if the mount crowds your controls. A more expensive system is not automatically justified if an existing suitable holder meets your needs. Choose the combination that solves a real fit or handling problem.
Make the decision by your route
For an occasional paved-path outing, an appropriate adjustable holder may be worth comparing if it fits the bicycle and phone correctly. For repeated daily use, pay particular attention to the removal routine and access to the locking parts.
Rougher routes call for careful review of intended use, not an assumption that more padding solves everything. Ask the manufacturer about the exact riding environment and phone combination when the documentation is unclear.
You can also decide not to mount the phone. If the display is unnecessary or the equipment does not fit without compromise, store the phone safely and choose a different way to navigate. The useful result is a workable trip, not owning another accessory.
Frequently asked questions
Does a screen-size range guarantee compatibility?
No. Check dimensions, case thickness, jaw contact, and handlebar fit.
Can I use a bicycle recommendation on a motorcycle?
Do not assume so. Check intended use and motorcycle and phone-maker guidance.
Does rubber padding guarantee camera protection?
No. Contact padding does not establish tested vibration protection.
Do I need a special case?
Some systems require a matching case or adapter. Adjustable holders require a compatible phone-and-case shape.
Can I change navigation while moving?
Stop in a safe place before interacting with the phone or adjusting the holder.
Should I replace a working mount?
Only to solve a clear problem or address damage or unsuitable fit. Price alone is not a reason to upgrade.
Sources and limitations
We checked the linked retailer variants, Quad Lock’s bicycle-mount page, and Apple’s camera-vibration guidance. Buying scenarios are editorial recommendations, not results of hands-on retention or vibration testing.
Keep the model number and instructions with your purchase record so you can identify compatible replacement hardware when the mount needs service.