
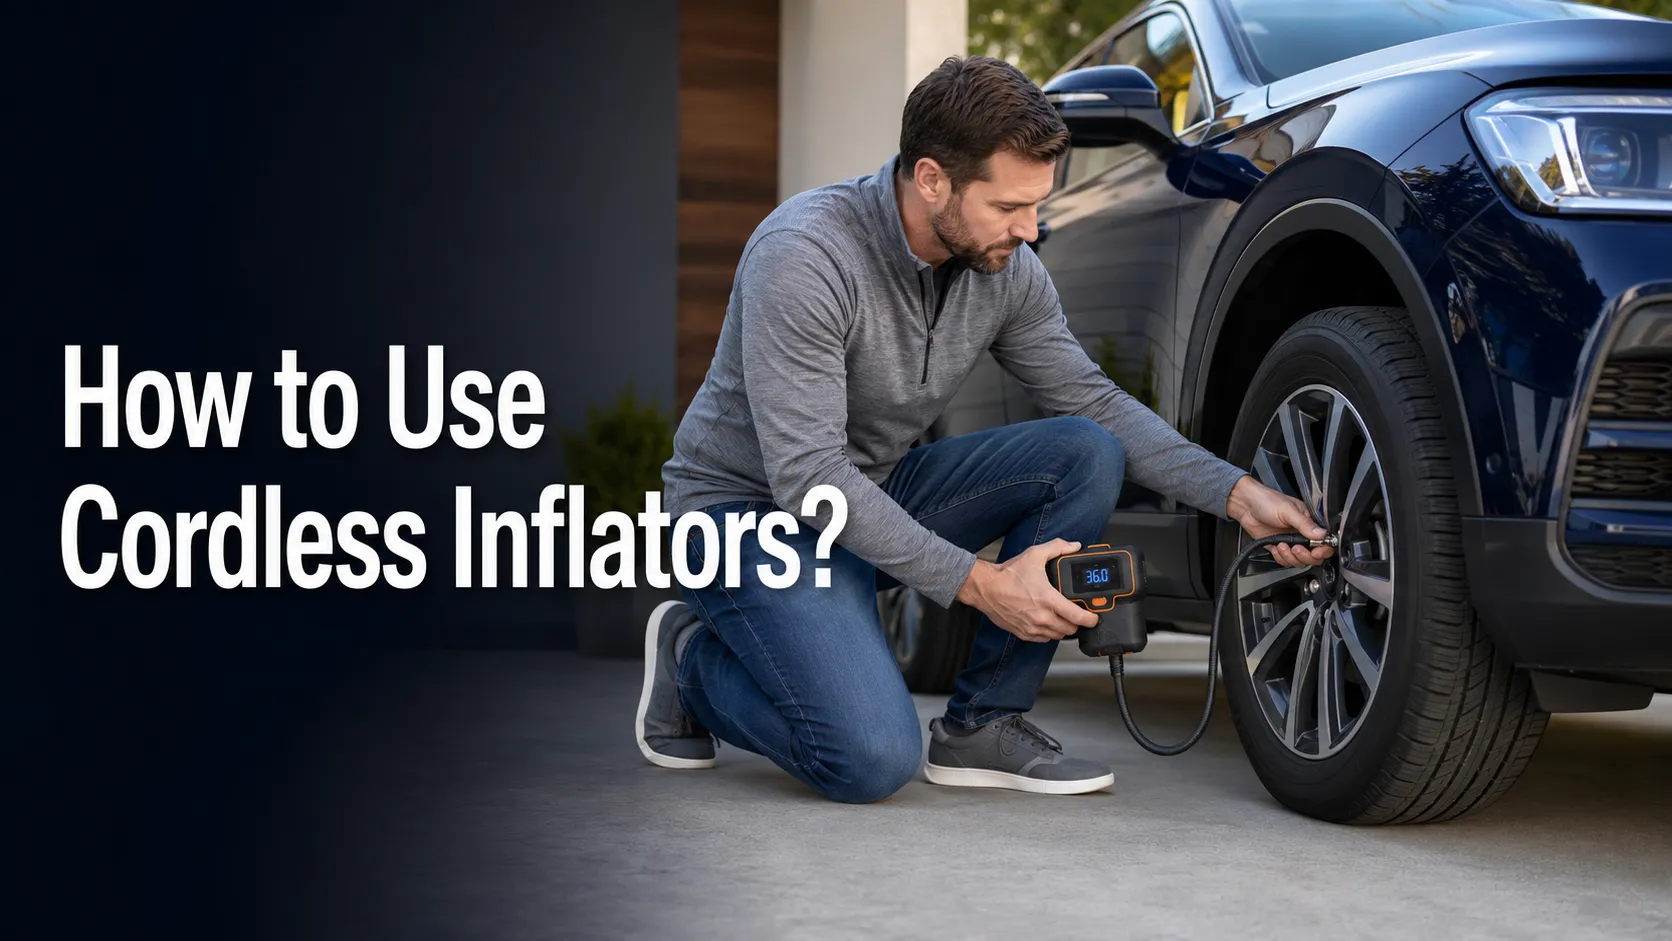
Learning how to use cordless inflators correctly makes routine tire-pressure checks faster and safer. The basic process is simple: find the vehicle’s recommended pressure, inspect the tire and inflator, connect the hose to the valve, set the target pressure if supported, and start the compressor. However, a poor connection, the wrong PSI target, or running the tool too long can cause inaccurate results or damage.
This guide explains each step for a typical passenger car, SUV, or light truck. Your vehicle owner’s manual and the inflator manufacturer’s instructions always take priority because controls, operating limits, and tire requirements vary.
To use a cordless inflator, check the recommended cold-tire PSI on the driver-side door-jamb label, attach the hose chuck firmly to the valve stem, select the target pressure, and start the inflator. Stop at the correct pressure, allow the tool to cool as directed, verify the reading, disconnect the hose, and replace the valve cap. Never use the sidewall maximum as the normal target.
What Should You Check Before Using a Cordless Inflator?
https://bestautoproducts.com/wp-content/uploads/2026/07/How-to-Use-Cordless-Inflatorss.webpStart with the tire, not the tool. Look for a flat appearance, exposed cords, a bulge, a cut, a damaged valve, or a tire that has separated from the wheel. A portable inflator can add air, but it cannot make a structurally damaged tire safe.
Next, inspect the inflator’s housing, hose, chuck, vents, battery, and controls. Do not use it if wiring is exposed, the hose is split, the connector is damaged, or the battery is swollen, leaking, cracked, unusually hot, or subject to a safety recall. Charge only with the equipment approved for that battery system.
- Park on a stable surface away from moving traffic when possible.
- Apply the parking brake and switch off the vehicle.
- Confirm that the inflator is intended for the tire size and required pressure.
- Check the battery charge or install a fully seated compatible battery.
- Read the stated duty cycle and cooling instructions.
- Keep the air intake and cooling vents clear.
- Have a separate dependable tire-pressure gauge available if needed.
How Do You Find the Correct Tire Pressure?
Use the cold-tire pressure printed on the vehicle’s tire-information label, usually located on the driver-side door jamb. It may also appear in the owner’s manual. Front and rear tires can have different recommendations, so read the label rather than assuming all four use the same setting.
The pressure molded into a tire sidewall is a tire limit, not the vehicle manufacturer’s recommended everyday operating pressure. Michelin explains this difference in its tire-pressure guidance.
Confirm that the inflator, connector, power system, and intended tire are compatible before starting.
Vehicle and product requirements can vary by make, model, trim, configuration, and model year. The owner’s manual and manufacturer instructions take priority.
How to Use Cordless Inflators Step by Step
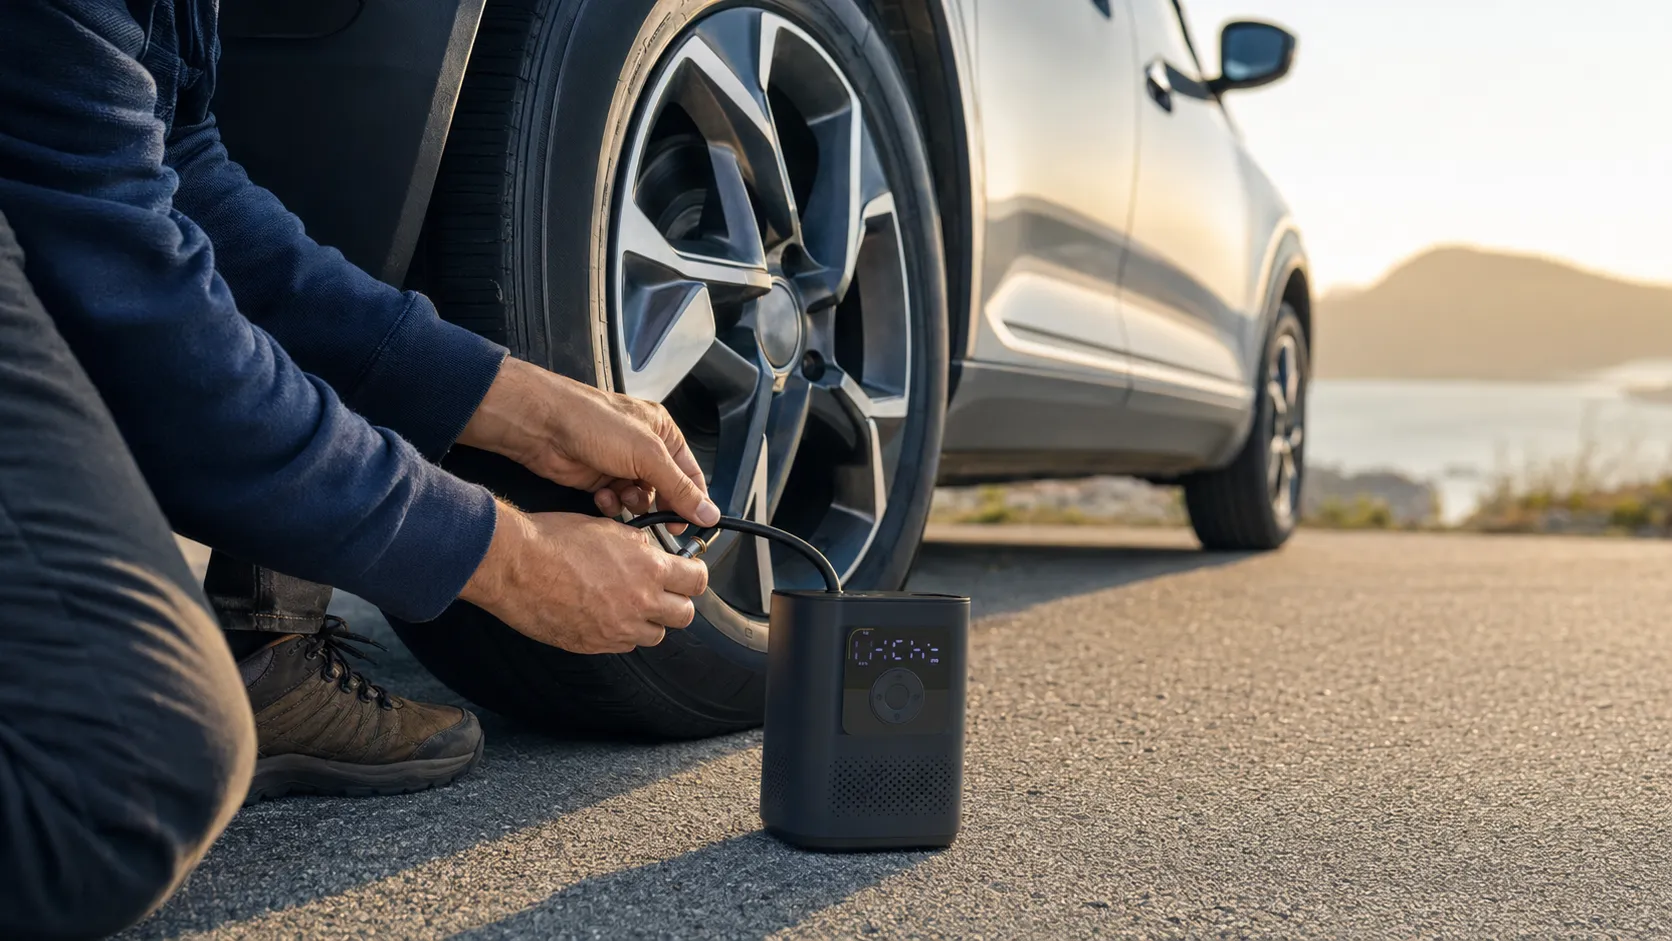
Connect the inflator securely and use the vehicle manufacturer’s recommended tire pressure.
Control layouts differ, but the following method applies to most digital cordless tire inflators. Keep the manufacturer’s manual nearby the first time you use a new model.
-
Park safely and prepare the tire
Move to level, firm ground away from traffic when possible. Apply the parking brake, switch off the vehicle, and locate the tire that needs air.
-
Read the vehicle’s pressure label
Find the recommended cold PSI for the correct front or rear tire. Do not copy another vehicle’s setting and do not substitute the maximum pressure molded into the sidewall.
-
Inspect the tire and equipment
Check the tread, sidewall, valve stem, hose, chuck, battery, and inflator housing. Stop if the tire or equipment shows unsafe damage.
-
Install or check the battery
Seat a compatible charged battery as directed. If the battery is built in, confirm that it has enough charge for the job.
-
Remove the valve cap
Unscrew the cap and keep it somewhere clean and secure. Dirt or moisture should not be allowed into the valve.
-
Attach the air chuck firmly
Press or thread the chuck straight onto the valve, depending on its design. Lock the lever if equipped. A brief hiss is normal during connection, but continued hissing suggests a poor seal.
-
Choose the correct unit and target
Select PSI if that is the unit shown on the vehicle label. On an auto-stop model, enter the recommended target carefully and confirm the screen before starting.
-
Position the inflator safely
Place it on a stable surface within hose reach. Keep the hose relaxed, the vents open, and the tool away from water, fuel, hot exhaust parts, and moving components.
-
Start inflation and monitor the tool
Switch on the compressor. Watch the pressure display and listen for unusual grinding or straining. Do not leave the inflator running unattended.
-
Stop at the target pressure
Let auto-stop end the cycle when supported, or stop a manual model when it reaches the target. Respect the specified maximum run time and cooling period.
-
Verify the final reading
Allow the display to settle. If accuracy is uncertain, disconnect the tool and confirm the pressure with a dependable separate gauge.
-
Disconnect and replace the cap
Switch off the inflator and remove the chuck carefully because the hose fitting may be warm. Refit the valve cap and store the equipment after it has cooled.
How Do Auto-Stop and Manual Inflators Differ?
An auto-stop inflator uses a pressure sensor and control circuit to stop the compressor near a selected target. A manual model keeps running until you switch it off. Auto-stop is convenient, but it does not remove the need to select the right pressure or verify an uncertain reading.
| Control Type | What You Set | What You Monitor | Main Caution |
|---|---|---|---|
| Auto-stop | Unit and target pressure | Connection, display, sound, and heat | A wrong target can still overinflate a tire |
| Manual switch | Usually no pressure target | Gauge continuously during operation | You must stop the motor at the target |
| Preset memory | Stored or new target | Whether the recalled value is correct | Old settings may not suit this tire |
Can You Use a Cordless Inflator on a Hot Tire?
You can add air when necessary, but a warm tire normally reads higher than the same tire when cold. Do not release air from a hot tire merely to make it match the cold-pressure number. Doing so can leave it underinflated after it cools.
If the tire is low while you are traveling, follow the vehicle or tire manufacturer’s guidance for a warm adjustment, then recheck it when fully cold. Bridgestone’s pressure-check guidance also recommends measuring with a secure gauge connection.
Common Cordless Inflator Mistakes to Avoid
- Using the sidewall maximum instead of the vehicle’s recommended cold pressure.
- Selecting kPa, bar, or another unit while reading a PSI value from the placard.
- Connecting the chuck at an angle and allowing air to leak.
- Running the compressor longer than its stated duty cycle.
- Blocking the cooling vents with carpet, clothing, or loose cargo.
- Walking away while the inflator is operating.
- Assuming auto-stop makes an incorrect target safe.
- Trying to restore a visibly damaged tire instead of arranging tire service.
- Touching the hose fitting or metal connector immediately after a long run.
- Storing a discharged or damaged battery without following its instructions.
Why Is the Cordless Inflator Not Working Correctly?
Start with simple external checks. Do not open the housing, bypass thermal protection, bridge battery contacts, or defeat another safeguard.
| Symptom | Possible Cause | Safe First Check | When to Stop |
|---|---|---|---|
| Will not start | Low charge or poor battery seating | Charge and reseat an undamaged battery | Battery is swollen, leaking, hot, or damaged |
| Runs but adds no air | Loose chuck, leaking hose, or internal fault | Switch off and reconnect the chuck | Motor grinds, smokes, or smells burned |
| Pressure rises slowly | Leak, low battery, or large tire volume | Check the seal, hose, and charge level | Tire cannot hold air or shows damage |
| Stops during use | Thermal protection or low charge | Allow the stated cooling time | Shutdown repeats during normal use |
| Reading changes sharply | Poor seal or pressure pulses | Reconnect, then verify with another gauge | Reading remains unreliable |
| Tire becomes low again | Puncture, valve leak, rim leak, or damage | Arrange a tire and valve inspection | Tire is visibly damaged or unsafe to drive |
Cordless Inflator Safety
Never kneel over a damaged tire or place your face in front of the valve during inflation. Keep other people away from the immediate area, and avoid using the tool where the tire or vehicle could move. A tire that was driven while severely underinflated can have hidden internal damage and should be inspected by a qualified tire professional.
Stop using the inflator if you notice smoke, sparks, melting, exposed wiring, a burning smell, severe vibration, or extreme heat. Do not open a lithium-ion battery pack or use a swollen, leaking, recalled, or impact-damaged battery. The U.S. Consumer Product Safety Commission documents overheating and fire hazards associated with defective lithium-ion products; check its recall database when a battery product may be affected.
What Should You Do After Using the Inflator?
Let the unit cool before storing it. Wipe off dry dirt using the method allowed by the manufacturer, and inspect the hose and chuck for damage. Coil the hose loosely so it is not kinked or crushed.
Store the inflator where loose cargo cannot strike it. Protect the battery from moisture and temperatures outside its permitted range. A vehicle cabin can become extremely hot or cold, so check the manual before leaving a battery-powered inflator in the car year-round. Recharge and store the battery according to its specific instructions rather than using a universal schedule.
Frequently Asked Questions
How do you use a cordless inflator on a car tire?
Find the recommended cold PSI on the vehicle’s tire label, inspect the tire and tool, connect the chuck firmly to the valve, select the correct unit and target, and start inflation. Stop at the target, verify the reading, disconnect the hose, and replace the valve cap.
Should the car be running when using a cordless inflator?
No. A truly cordless inflator normally runs from its own battery, so the vehicle does not need to be running. Park securely, apply the parking brake, and follow the inflator and vehicle instructions.
What PSI should I set on a cordless inflator?
Use the recommended cold-tire PSI on the vehicle’s tire-information label or in the owner’s manual. Check whether the front and rear values differ. Do not use the tire sidewall maximum as the normal target.
Can you use a cordless inflator when the tire is hot?
You can add air when necessary, but a hot tire usually reads higher than a cold tire. Do not release air simply to match the cold placard value. Recheck and adjust the pressure after the tire has cooled.
How long can a cordless inflator run continuously?
There is no universal run time. Follow the duty cycle and cooling period in the inflator’s manual. Stop earlier if the tool becomes excessively hot, smells burned, makes unusual sounds, or shuts down.
Why does air leak while I connect the inflator?
A brief hiss can occur while attaching the chuck. Continued leakage usually means the connector is not straight, fully seated, or locked. Switch off the tool, reconnect it carefully, and inspect the hose, chuck, and valve if the leak continues.
Can a cordless inflator fix a completely flat tire?
It can only add air. It cannot repair a puncture, damaged valve, broken bead seal, or structural tire damage. A tire that became completely flat or was driven while flat should be inspected before further driving.
Should I trust the inflator’s built-in pressure gauge?
The built-in gauge is useful, but verify it with a dependable separate gauge if the reading seems unstable or inaccurate. Stop using the pressure preset until you know the displayed value is reliable.
Related Guides
- How Do Cordless Inflators Work?
- Are Cordless Inflators Safe to Use?
- Can Cordless Inflators Inflate Car Tires?
- Why Does a Tire Inflator Keep Shutting Off?
- How Long Do Cordless Inflator Batteries Last?
Conclusion: How to Use Cordless Inflators
To use a cordless inflator properly, begin with the vehicle’s recommended cold-tire pressure and a careful inspection. Connect the chuck firmly, confirm the unit and target, keep the vents clear, and monitor the tool throughout inflation. Stop at the correct pressure, respect the duty cycle, verify the result when needed, and replace the valve cap.
Practice the process at home before relying on the inflator during a roadside problem. Most importantly, never treat added air as a repair for a puncture or structural damage. Stop and arrange professional tire service when a tire cannot hold pressure or shows an unsafe condition.
Use the vehicle placard’s cold-tire PSI, make a tight valve connection, monitor pressure and heat, and follow the inflator’s duty cycle. If the tire is damaged or keeps losing air, stop using the inflator as a temporary solution and have the tire inspected.