


The best sound deadening material for cars is the one that addresses the noise you actually have and fits the vehicle without interfering with its operation. A large box of damping sheets will not automatically fix a loose trim clip, a damaged weather seal, or a mechanical noise that needs repair.
This guide helps you decide what to investigate, what to measure, and how to compare two common butyl-and-foil options. It is a buying guide based on manufacturer information and practical planning. We have not tested these products in a vehicle, recorded decibel reductions, or ranked them using a laboratory comparison.
Quick answer: diagnose, then choose
For a project aimed at resonating metal panels, compare an automotive vibration-damping mat such as Dynamat Xtreme or Noico. Choose the pack size after measuring accessible areas and reading the installation requirements. Do not treat damping mat, foam, and a sound barrier as interchangeable materials.
If the noise is new, linked to braking or steering, or accompanied by vibration or a warning light, arrange diagnosis before covering interior panels. Sound treatment is an improvement project, not a substitute for repair.
Affiliate disclosure: As an Amazon Associate I earn from qualifying purchases. We may earn a commission through the links below, at no additional cost to you.
Check Dynamat Xtreme 10455 pack details on AmazonStart with the noise you want to change
Describe the problem in one sentence before shopping. Perhaps a door panel resonates with music, the luggage area sounds hollow on rough pavement, or a trim piece rattles at a certain volume. Those descriptions point to different inspections and prevent an unfocused whole-car purchase.
Listen under repeatable conditions without distracting the driver. A passenger can note where a noise seems to originate while the driver concentrates on the road. Do not reach into panels, operate recording equipment, or adjust trim while driving.
Separate loose objects from the vehicle itself. Empty door pockets and the cargo area, check that removable equipment is secured, and see whether the symptom changes. A bottle, tool, or poorly seated trim piece can make a project seem more complicated than it is.
If you cannot identify the source, a qualified installer or technician may save more time than another box of material. Tell them when the noise occurs, what has changed recently, and whether it depends on speed, road surface, or audio volume.
Understand the job of each material
A vibration-damping sheet is intended to control panel resonance when bonded appropriately to the panel. Dynamat describes Xtreme as a treatment for resonating vehicle surfaces. That makes it relevant to a panel project, but it does not establish a universal result for every car.
Other materials in a sound-treatment system can serve different roles. A foam layer may be specified as a separator in a particular system, while a barrier has its own installation requirements. Ask the manufacturer what the material is designed to do rather than buying by the word soundproof alone.
Avoid treating thickness as a complete performance score. Material formulation, contact with the surface, coverage, and the vehicle structure all matter. Two products with similar-looking foil faces are not necessarily equivalent.
Be especially careful with claims that mix heat insulation and sound treatment. A product may have several stated applications, but only use it within the temperature and placement limits supplied for that exact material. Cabin products should not be assumed suitable for an engine compartment.
| Question | What to check | Why it matters |
|---|---|---|
| What is making noise? | Panel resonance, trim rattle, air leak, or mechanical issue | Different causes require different responses |
| Where will it go? | Permitted application area and available clearance | Safe fit is more important than excess coverage |
| How much is needed? | Measured surfaces, planned cuts, and pack contents | Nominal area is not a vehicle-specific kit |
| How will it be fitted? | Surface preparation, access, tools, and instructions | Material choice and installation are linked |
| What result is realistic? | The stated purpose of the material | A damping sheet is not a guarantee of silence |
Two product options to consider
These examples provide two starting routes, not an independent performance ranking. Compare current pack contents and the work area you can safely access. A smaller project may need less material than a bulk pack, while a planned multi-panel project may justify buying more at once.

Dynamat Xtreme 10455 Bulk Pack
Verified manufacturer details: the pack contains nine 18 × 32-inch sheets, totaling 36 square feet. Dynamat lists vehicle panel applications where installation does not interfere with normal operation.
Consider it for: a measured multi-panel project. Limitation: bulk coverage is not a promise that the pack fits or completes your particular vehicle.
View Dynamat Xtreme 36 sq ft pack on Amazon
Noico Pro 80 mil: check the selected pack
Verified listing detail: the linked Amazon page currently identifies an 80 mil butyl-and-foil product in a 10-square-foot pack. Confirm the selected variant before purchase.
Consider it for: a smaller planned treatment area. Limitation: the listing can include different pack sizes; do not assume a shared product page always shows 36 square feet.
Check Noico 80 mil selected pack on AmazonMeasure before you order
Make a plan for accessible surfaces rather than estimating from the size of the car. Note each panel, whether trim has to be removed, and which areas must remain clear. Then compare your plan with the material maker’s recommended placement.
Paper templates can help you visualize cuts before removing a release liner. They also expose awkward shapes and obstacles that a simple length-times-width estimate misses. Treat the templates as planning aids, and keep them away from moving or hot components.
Include a sensible allowance for cuts and mistakes, but do not convert an allowance into a reason to cover every opening. Service access, drains, fasteners, wiring, and moving mechanisms still need their intended space.
Budget for the complete job: trim tools where appropriate, replacement clips if required, protective equipment, the specified preparation materials, and professional help if disassembly exceeds your experience. The box price alone is not the cost of a successful project.
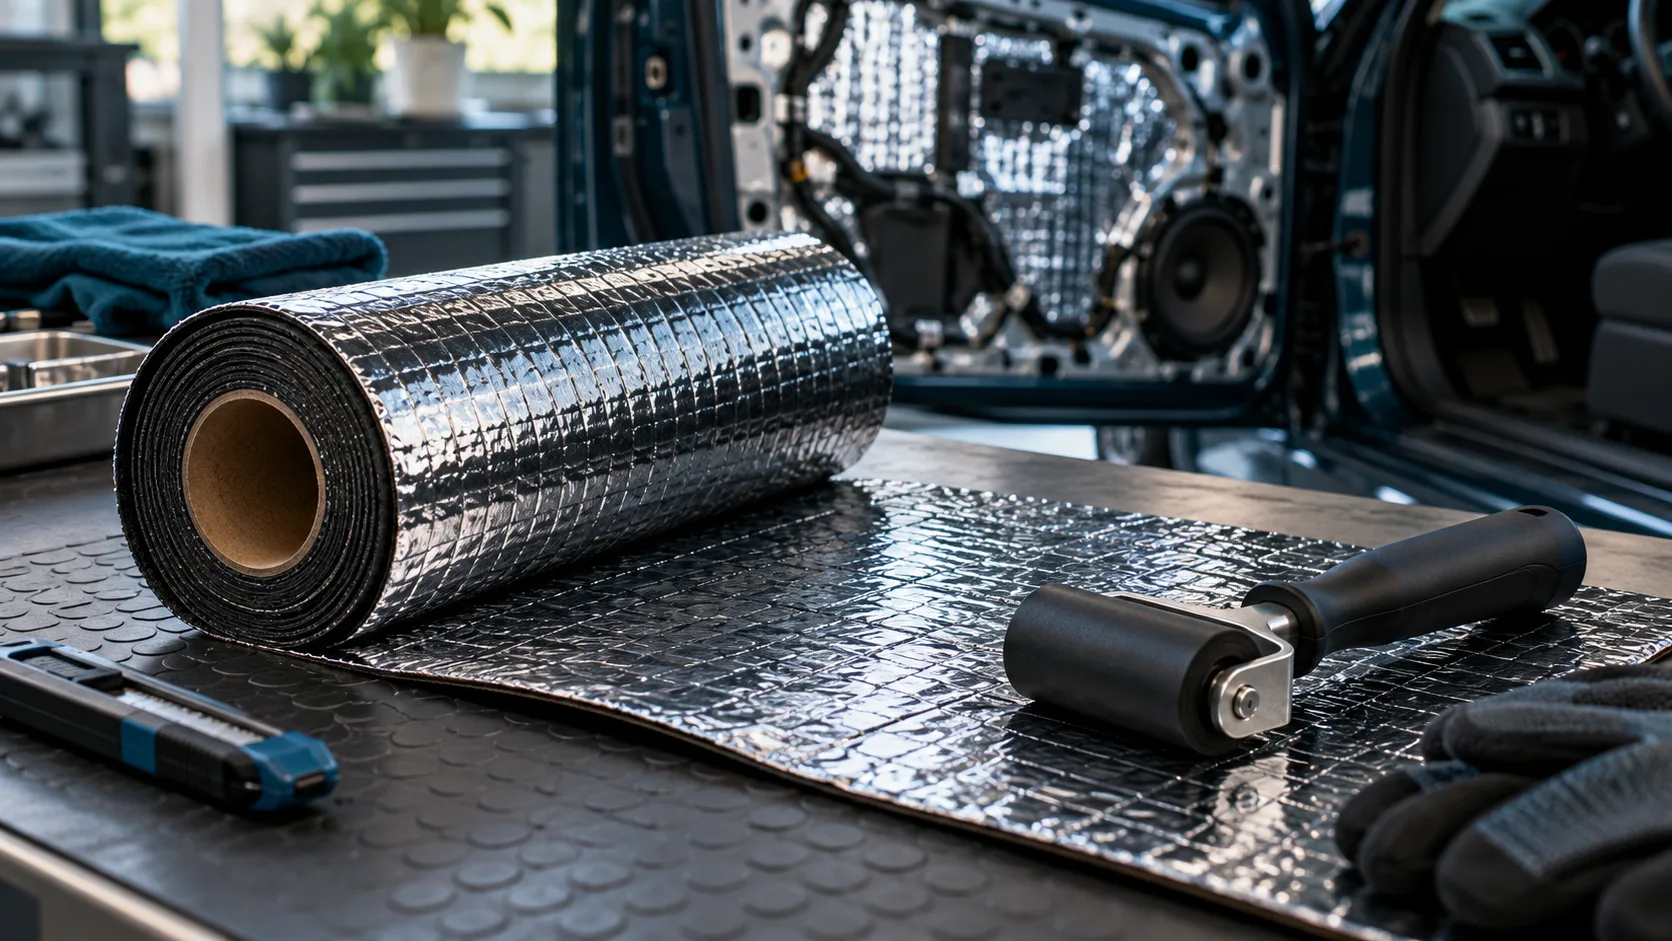
Check vehicle-specific installation risks
A door contains more than a sheet of metal. Before removing trim, consult service information for that vehicle, including precautions for airbags, electrical components, window mechanisms, and moisture barriers. If the instructions are unclear, use a qualified installer.
Do not cover drains or obstruct window travel. Keep material and tools clear of wiring, connectors, speakers, locks, and service fasteners unless the manufacturer’s approved procedure specifically addresses the area. A quiet panel is not a worthwhile result if a vehicle function is compromised.
The floor and seating areas deserve the same care. Do not interfere with pedal travel, seat rails, seat-belt anchors, sensors, or the correct seating of trim and carpet. Reassembly must follow the vehicle’s service requirements.
For hybrid and electric vehicles, avoid high-voltage components and cables. This guide does not authorize or describe high-voltage work. Ask a technician familiar with the vehicle to assess access if the treatment area is near those systems.
Preparation and application: follow the exact product instructions
Dynamat’s published instructions call for cutting material to size, preparing the surface, removing the liner, and pressing it into place. Use its current instructions for the detailed method, tools, and application limits. This overview does not replace the manufacturer’s procedure.
Plan the sequence while the work area is still clean and visible. Know how you will reach each area and how removed trim will be stored. Taking photos of ordinary trim positions before disassembly can help organization, but photographs do not replace service information.
Use the preparation products allowed by both the vehicle surface and the damping-material maker. Do not assume a household cleaner, strong solvent, or arbitrary adhesive is appropriate. Follow label ventilation and handling requirements.
Pause if material cannot sit as specified or the trim no longer fits correctly. Do not force the trim into place or compress wiring to complete the project. Recheck the design, thickness allowance, and clearance before continuing.
How to assess the result honestly
Set expectations around the original symptom. If the aim was a specific panel resonance, compare that symptom after correct reassembly. Do not declare that all road noise has been solved because a panel sounds different when tapped.
Keep a brief record of what was treated and what remained unchanged. If you work in stages, the record helps you decide whether the next area is worth the time and expense. It also prevents buying duplicate material for a problem already addressed.
A phone recording is not a controlled acoustic test. Road surface, wind, tire condition, speed, and microphone placement can change the result. Use informal observations for your own planning, without turning them into a numerical performance claim.
If an unfamiliar rattle or warning appears after reassembly, inspect the work promptly. Restore correct function before evaluating sound quality. Ask a professional to check anything involving safety systems or uncertain trim retention.
Which option should you choose?
Start with scope. If you have a clear multi-panel plan and the listed material suits it, the Dynamat bulk pack is a reasonable product to compare. If you need a smaller amount, check the selected Noico pack or an appropriately sized alternative.
Neither choice is automatically best for every driver. A vehicle with an unresolved air leak or mechanical noise may need no damping material at all at this stage. Fixing the source is often the more useful first decision.
Keep the rest of the car-care plan practical. If surface cleanup is part of your preparation, our microfiber vs cotton towel guide explains why cleaning supplies should be separated by task. Use only the preparation method approved for the specific installation.
Buying checklist
Identify the symptom, confirm that a panel treatment is appropriate, read the vehicle access instructions, measure the accessible area, and verify the exact product pack. Check clearance and plan reassembly before ordering.
Keep current instructions with the purchase record. If you return to the project months later, recheck the surface and access conditions rather than assuming the earlier plan still applies.
Choose an installer when the job requires uncertain trim removal or work around safety equipment. Skilled installation can be more valuable than buying a larger quantity of material.
Frequently asked questions
Will sound deadening make my car silent?
No product here is presented as a guarantee of silence. Match the treatment to the source and keep expectations specific to the project.
Is thicker material always better?
Thickness alone is not enough to compare a complete installation. Check the material’s stated role, clearances, instructions, and the area being treated.
Can I cover every opening in a door?
No. Preserve drains, moving mechanisms, wiring access, and vehicle functions according to service information and the material instructions.
Does a 36-square-foot pack fit every car?
No. Pack area describes material quantity. Your project depends on accessible surfaces, cuts, and the planned treatment.
Can I install it without removing trim?
Only where the permitted surface is accessible and the manufacturer’s method can be followed. Do not force access or apply material over unsuitable trim.
Should I buy material before diagnosing a new noise?
A new or unexplained mechanical symptom should be diagnosed first. Sound treatment is not a substitute for repair.
Sources and selection method
We checked Dynamat’s product information, its linked technical and installation documents, Noico’s 80 mil product information, and the retailer variants linked above. Recommendations describe planning use cases, not results from hands-on testing.
Before you book an installation
Ask an installer to explain which symptom the proposed treatment addresses and which parts of the vehicle will be opened. Request a clear scope that identifies the material, pack quantity, preparation, trim removal, and reassembly. You should be able to understand the plan without being promised a silent cabin.
Also ask how future servicing will be handled. A sensible installation leaves required access available and documents what has been added. If the car is leased or under a service agreement, check the relevant modification terms before proceeding. Keep receipts and a simple location record for the next owner or technician.